
Behind the Scenes: Studio Tour!

Hello friends!! I've missed writing to you. If you clued in to my last post as I said goodbye for a short sabbatical to have my baby, I'm reporting back on the moment I blogged about:
Labor surprised us all four days after my due date at 3 am, and baby arrived a short 5 hours later. I did in fact shave my legs (AND brushed my teeth!!), the house construction was almost finished (although we did call the contractor shortly after our parents upon the baby's arrival to schedule the painters to finish while we were at the hospital!), and my husband enjoyed running all the stop signs on the way to the hospital (no, pushing was not imminent, it was just 4 am and the best excuse in the world to do it).
It was the perfect birth experience I hoped for, but if that taught me anything, it was that the outcome is more important than the avenue, and I am just so blessed to have a healthy 6 week old baby sleeping in my lap right now*.

*True story. He's really comfortable!
Last September, hurricane Irma did a number on my hometown of Jacksonville, FL, and our home was among the *many* that suffered flooding. As a result, the 9-10 months (coinciding rather ironically with the entire duration of my pregnancy) has been a season of rebuilding for much of the city, including us. Among the redesign of our home included my studio, and I am so excited to share this with you, I have been planning this post for weeks. I have a secret passion for organizing and making things efficient, which is kind of funny considering my creative head space is a total plate of spaghetti... Anyways, the two worlds collide inside the studio!
(If you just want to see the super fun inside peeks, skip to #3! #1-2 encompasses the down and dirty flood/rebuild story...)
9 Things: Inside the Studio!

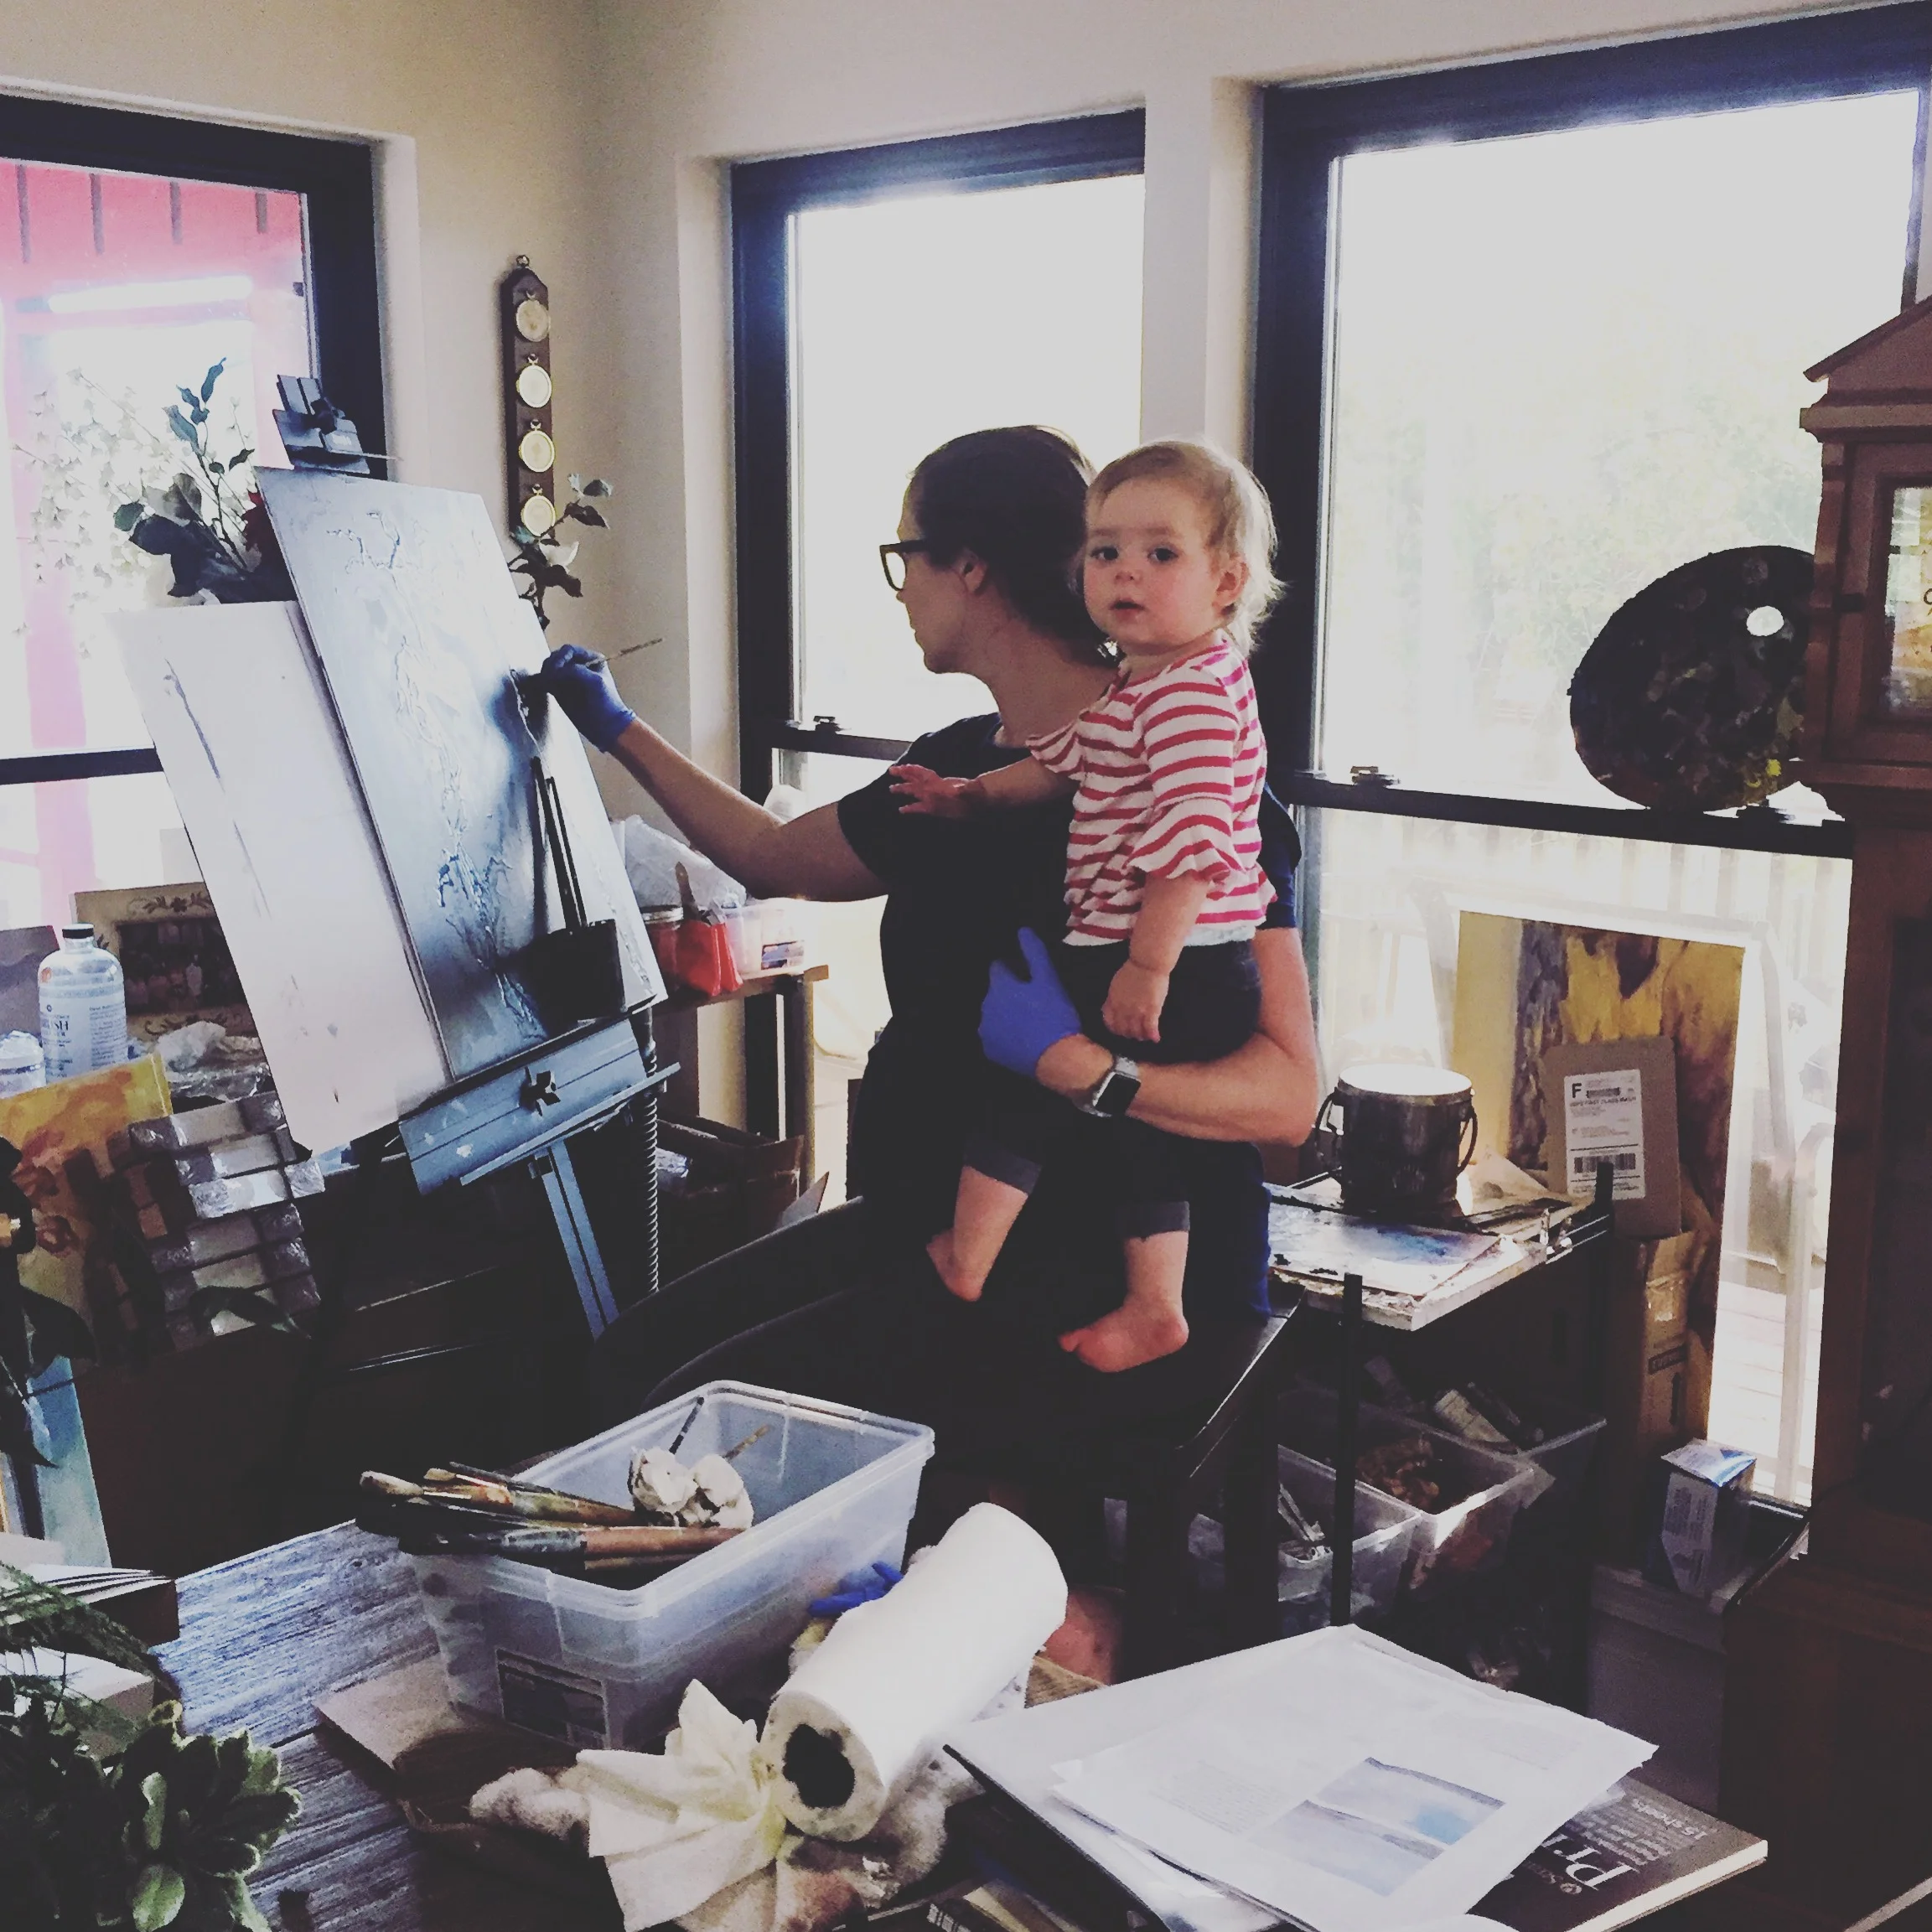
Totally not the norm! Nobody was crying or barking in this photo. But it was nice while it lasted. From the phone of Jenn Hopkins Photography.
1. The Purge (After the Storm)
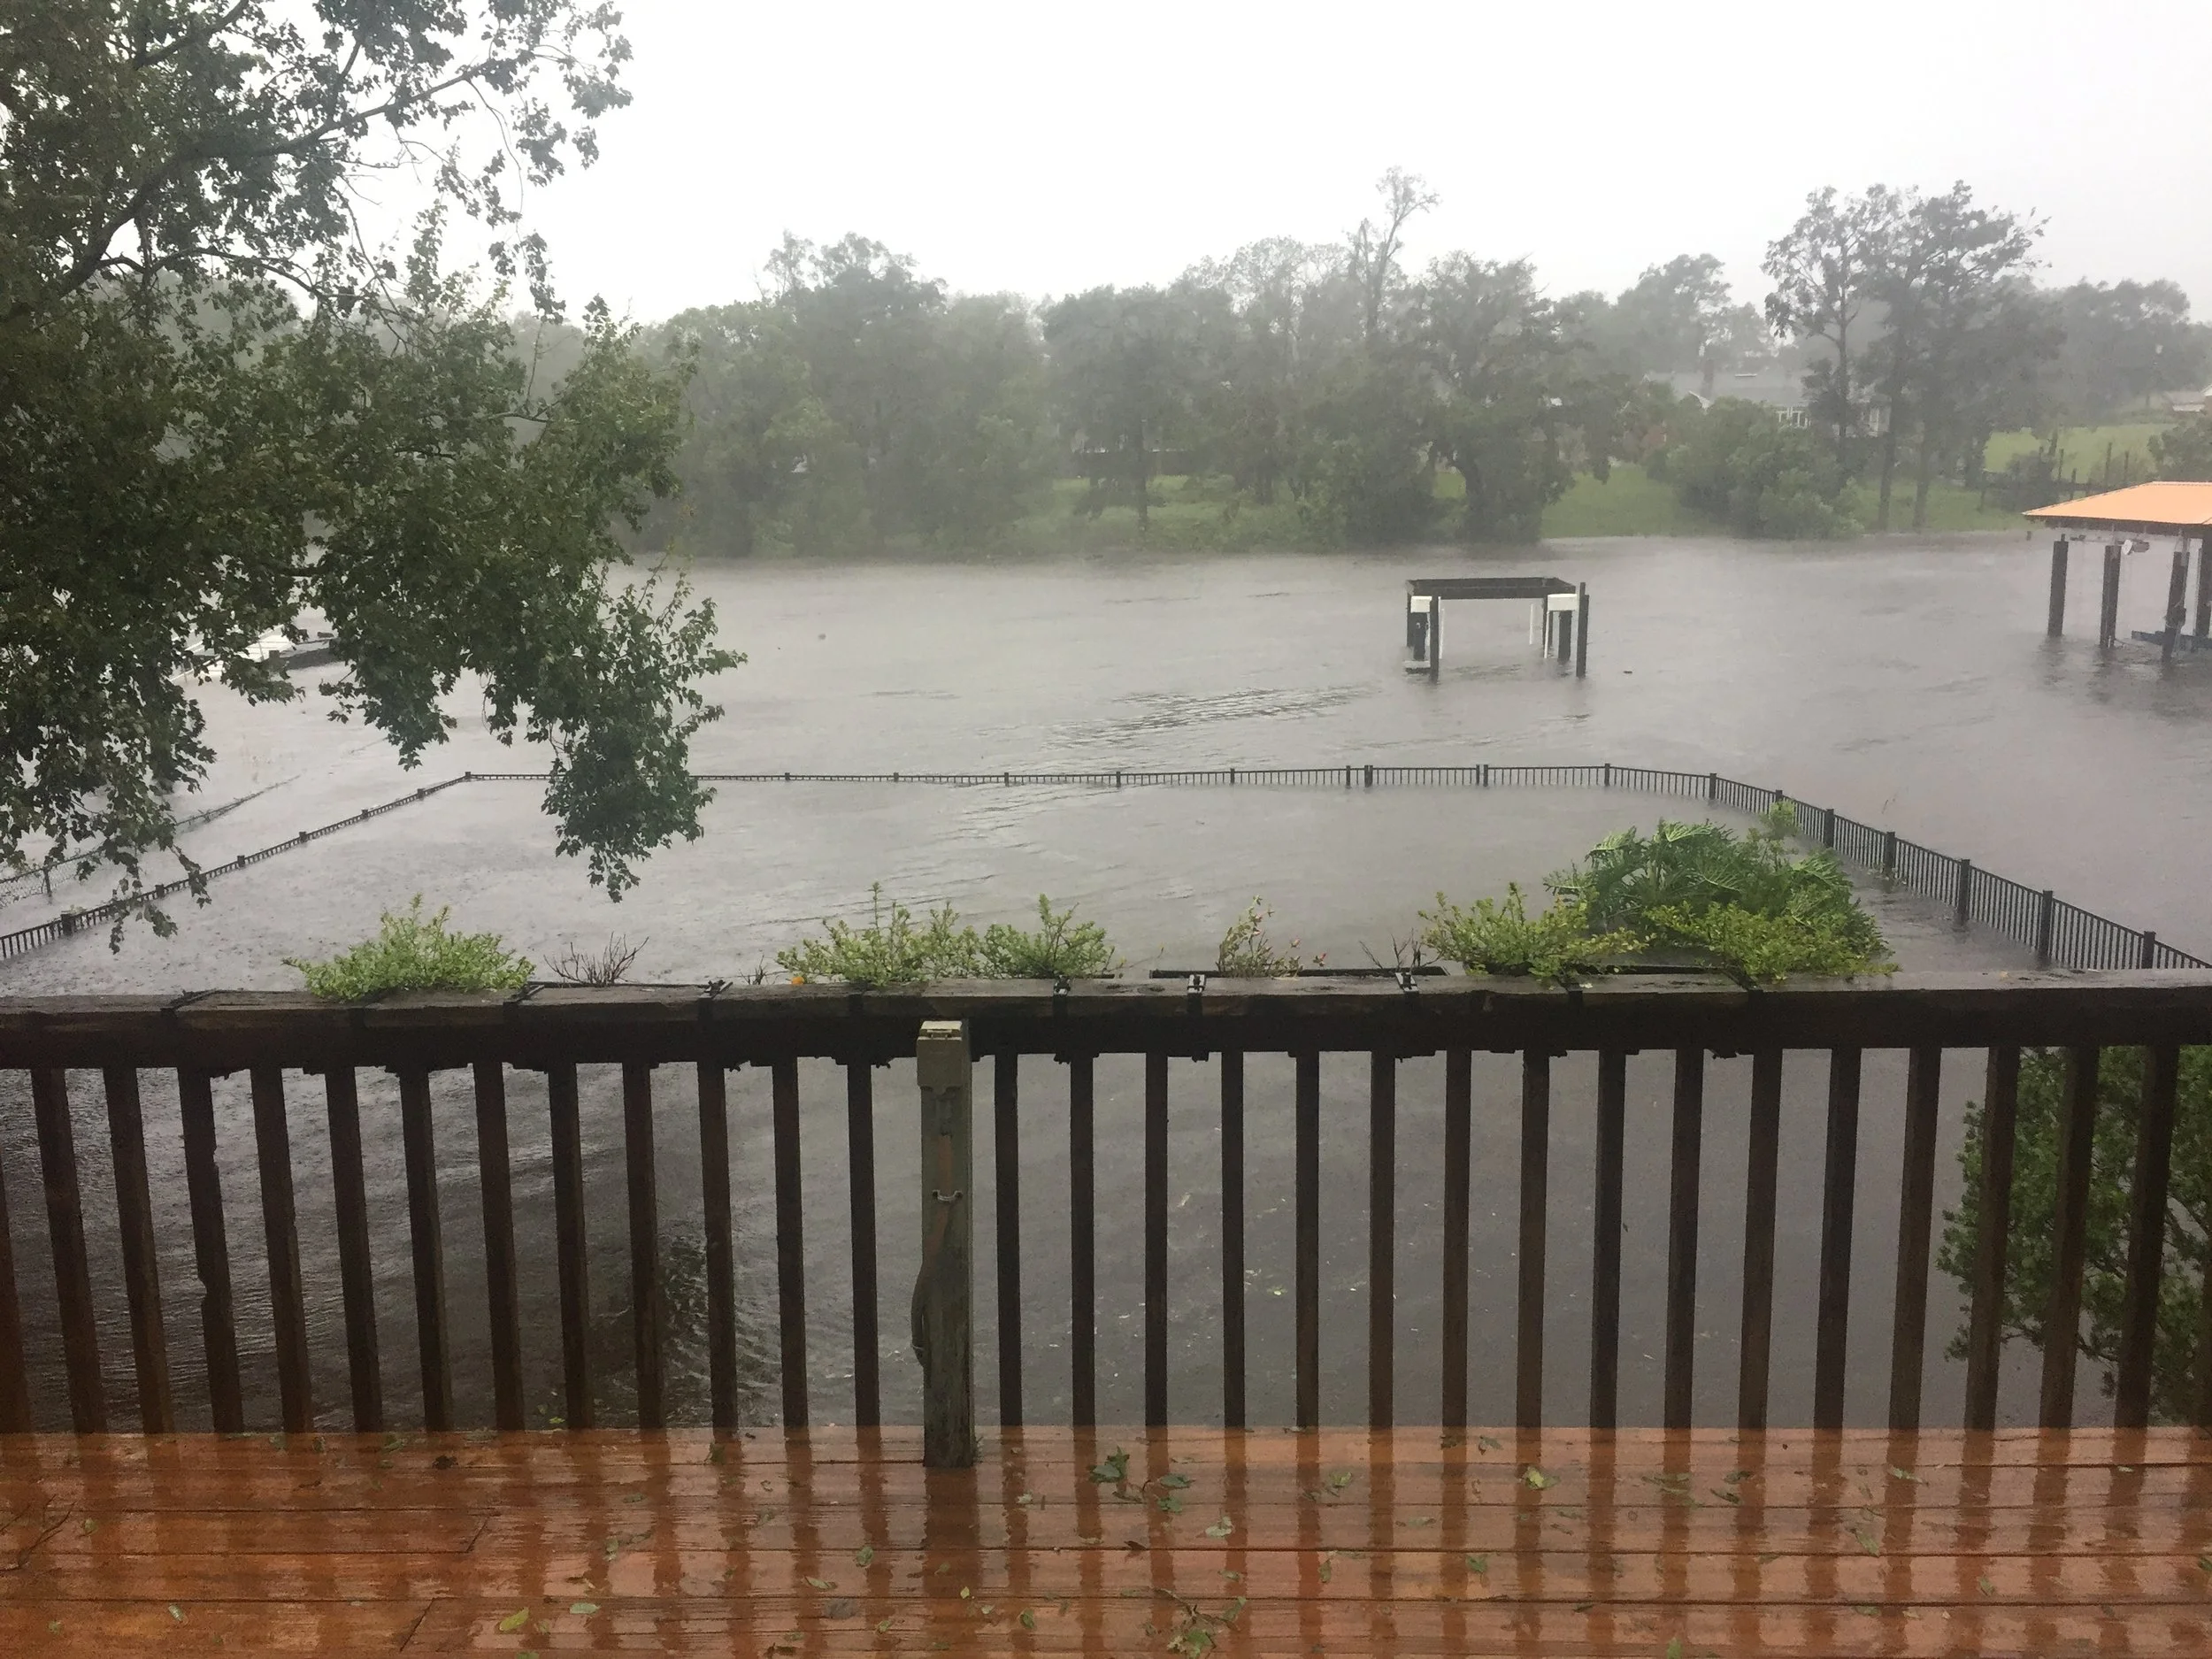
What our backyard looked like when we evacuated (it got about another 8 inches higher after that)
I cannot talk about the rest of it without first talking about the PURGE. While it was completely horrifying to watch water overtake our downstairs, it wound up being a blessing on so many levels. The first of which was the inevitable purge that happened as soon as we were safe to go inside the house again.
Many things taking up space not only in my studio, but in our garage, closets, and bedrooms, no longer were serving us. Instead, they were occupying precious real estate in our homes and our heads. If it was wet, we didn't really have a choice but to throw it away, and what a healing experience that was.
Some old artwork had to be tossed, but thankfully my recent paintings were spared by about 5 inches (!!!... We didn't expect the water to get as high as it did when we were moving things and there wasn't a ton of time, so the paintings went on the fouton. I wouldn't do that again!)
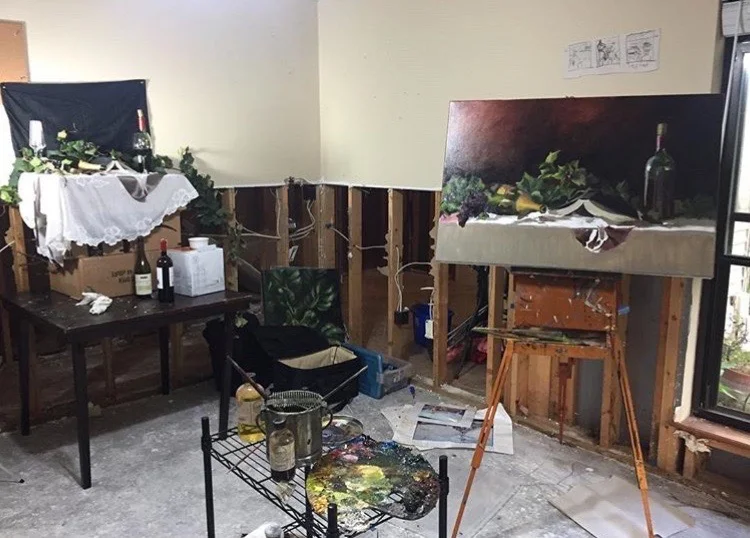
What was left after the purge were the supplies and tools I actually needed moving forward with my art. What was missing that I still needed could be replaced in time.

THE PURGE. A humble reminder this earth is not our home. Thank you to many people who showed up in every way to help us put our lives back together.

All the love for one another, for better AND for worse.
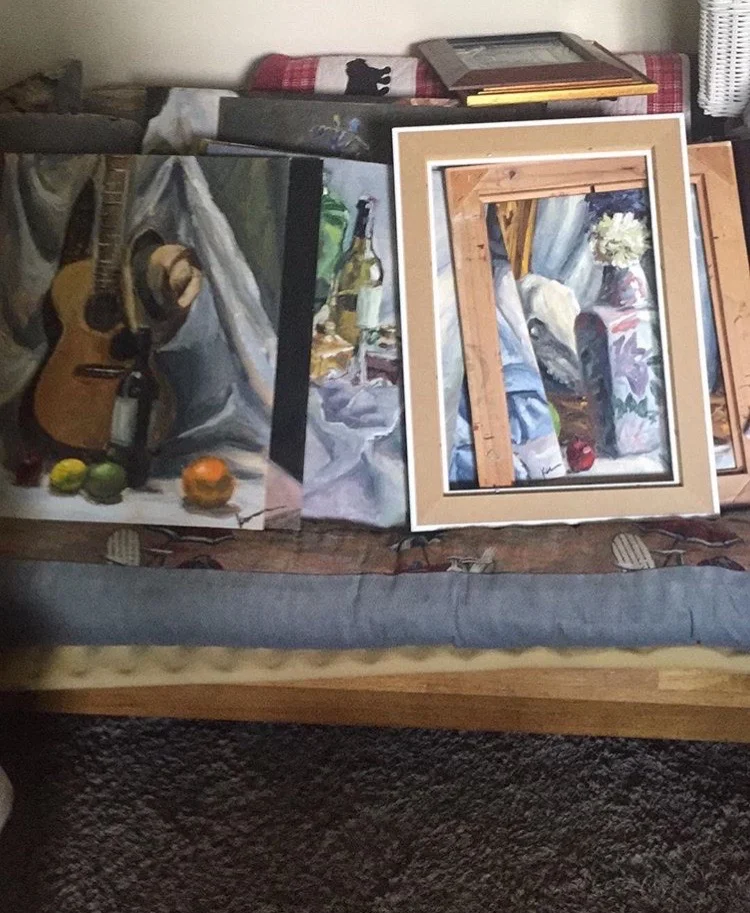
We had no idea what we would find when we got back in the house. I made a beeline for where I had stashed my paintings. They were DRY! By five inches!!! I didnt care about anything else at that point.
Using my old studio while waiting for construction to start :)
2. The Location
I am including this part because it was a very significant and intentional decision as we considered the importance of art in my life with the corresponding familial demands.
As we were making decisions about what to do with the walls downstairs, knowing I was 8 weeks pregnant at the time, we had to have a serious discussion about what do with with my studio. Before the flood, we had a nursery for my daughter, my studio, and a guest room (I know. So much space. Move to Jacksonville!)
Ultimately, we opted to lose our guest bedroom and keep my studio in the house (and our baby would get his own room).
Guests now share a room with my toddler, and while that is slightly uncomfortable, we had to face the fact that art is here to stay, and with two little kids, I have to be FEET away from my easel, not miles. That may change when the kids get older, but honestly I could be very happy never upgrading. The location of my studio even allows me to talk to my husband while he's relaxing in the living room!
My art is a response to life, therefore it makes sense that it lives right in the middle of life.
Once construction really got going, I moved my "studio" back upstairs to our dining room, which is where I finished the Twisted Compass collection. Believe it or not, I actually really enjoyed painting right in the middle of life (Just not the mess it made). 30 weeks pregnant, working on "Rivers," my daughter is helping.

38 weeks and able to start moving into my daughters room and my studio! Just in time :) Home Remedies did an outstanding job!
Now, the good stuff!! The upgrades, furniture, and gear I couldn't live without!
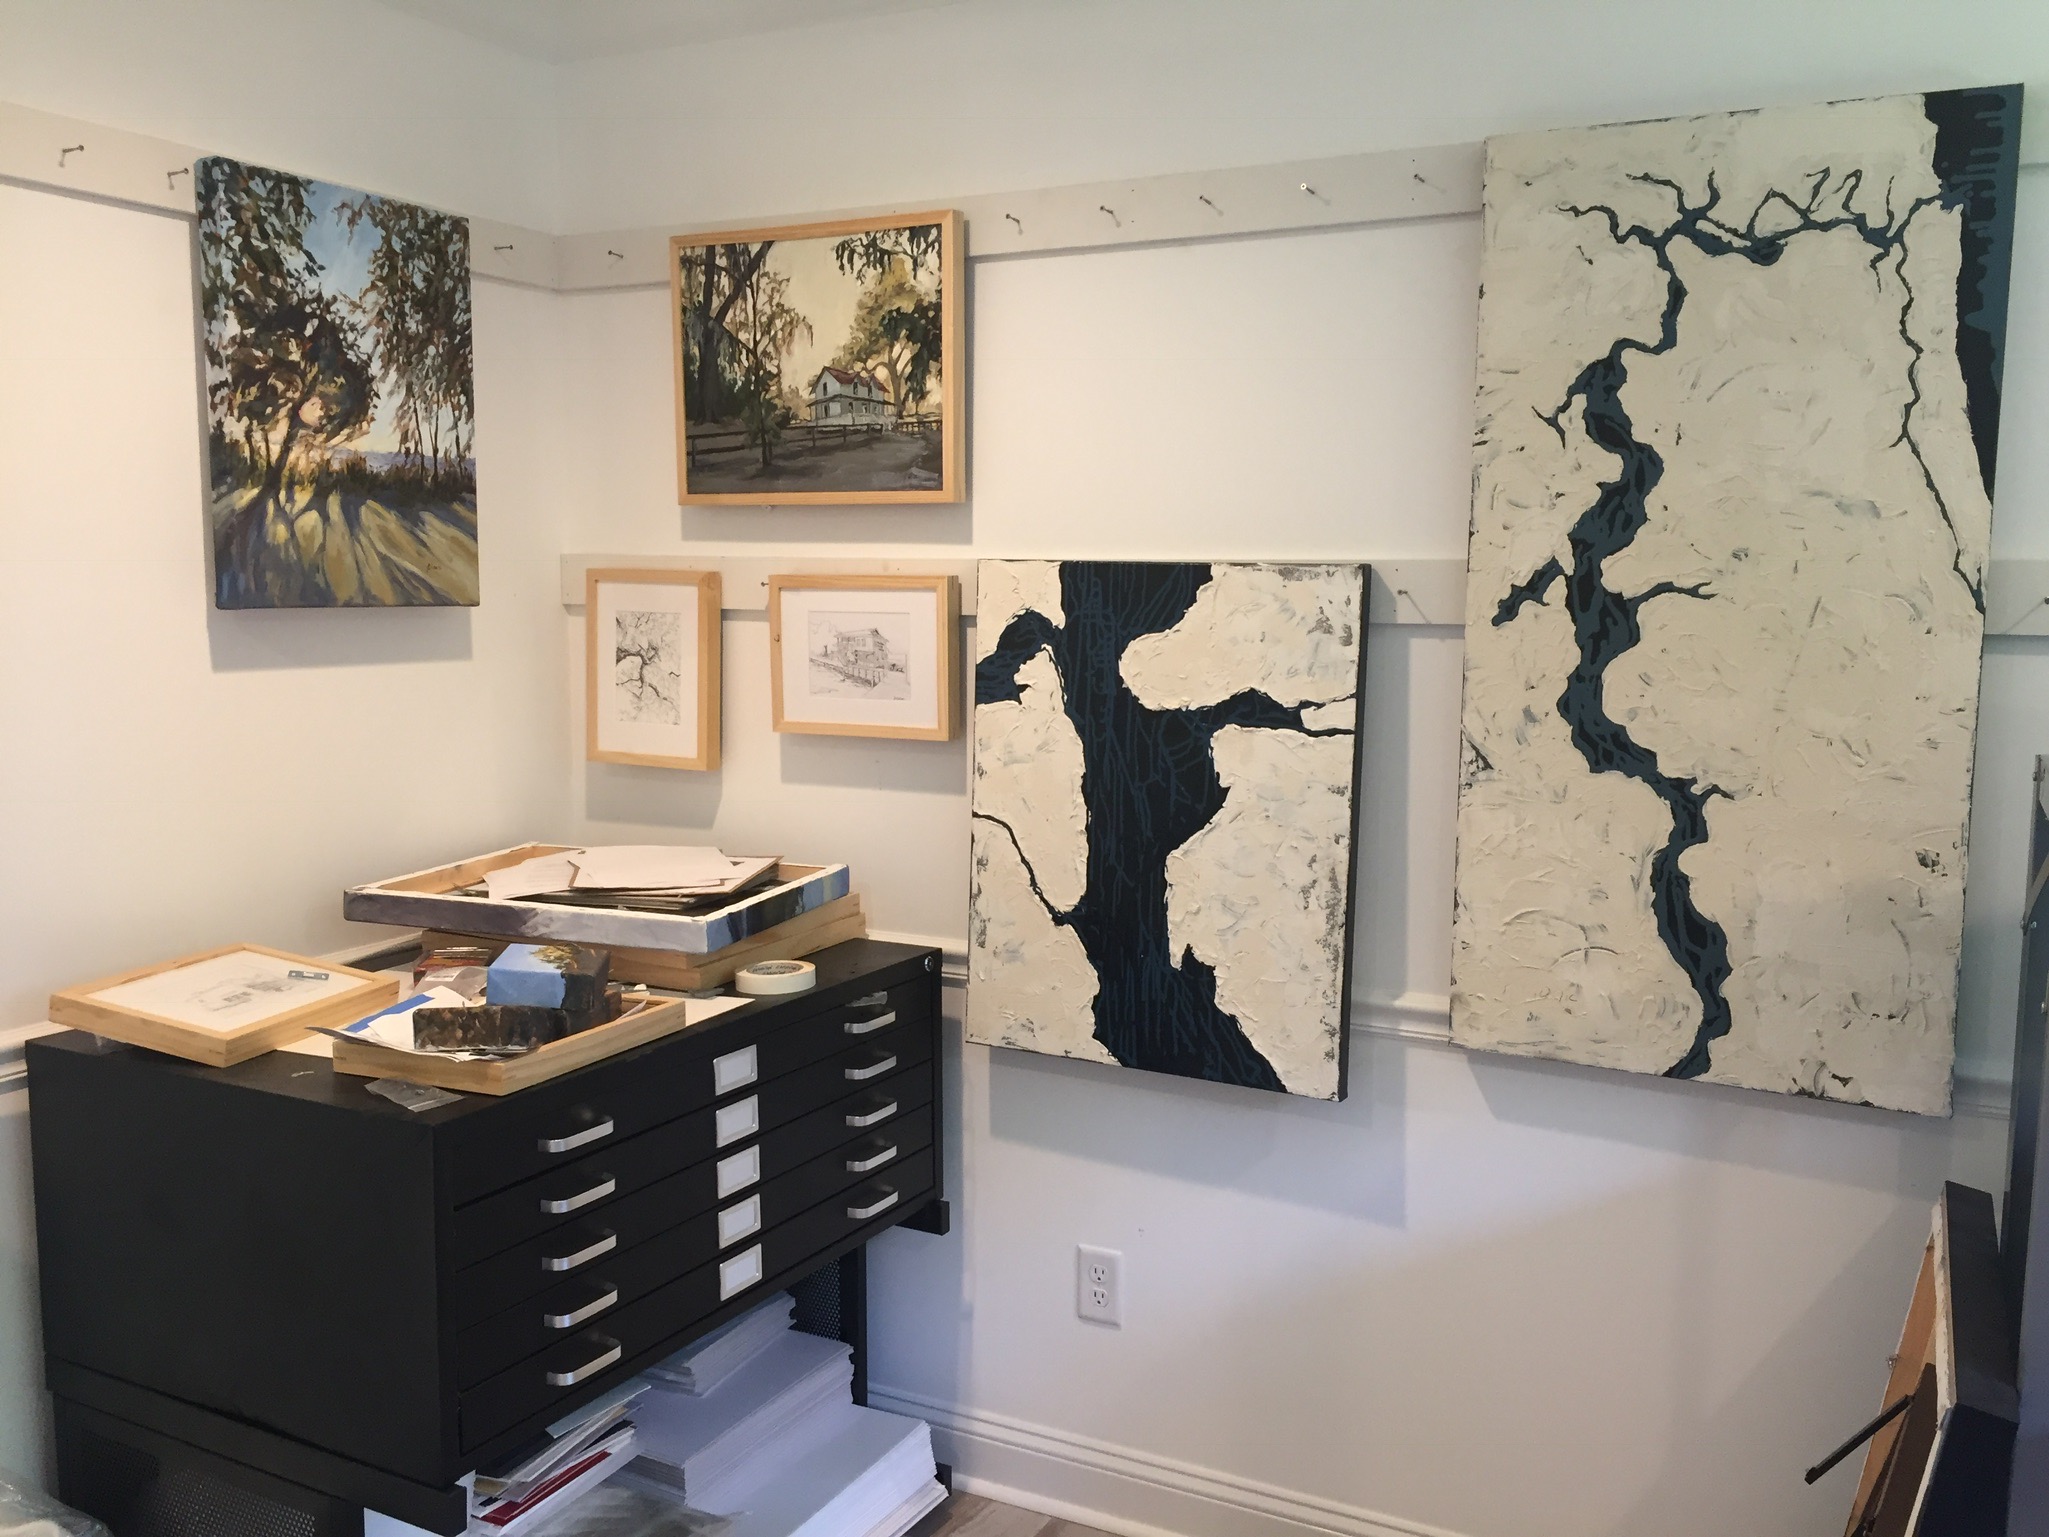
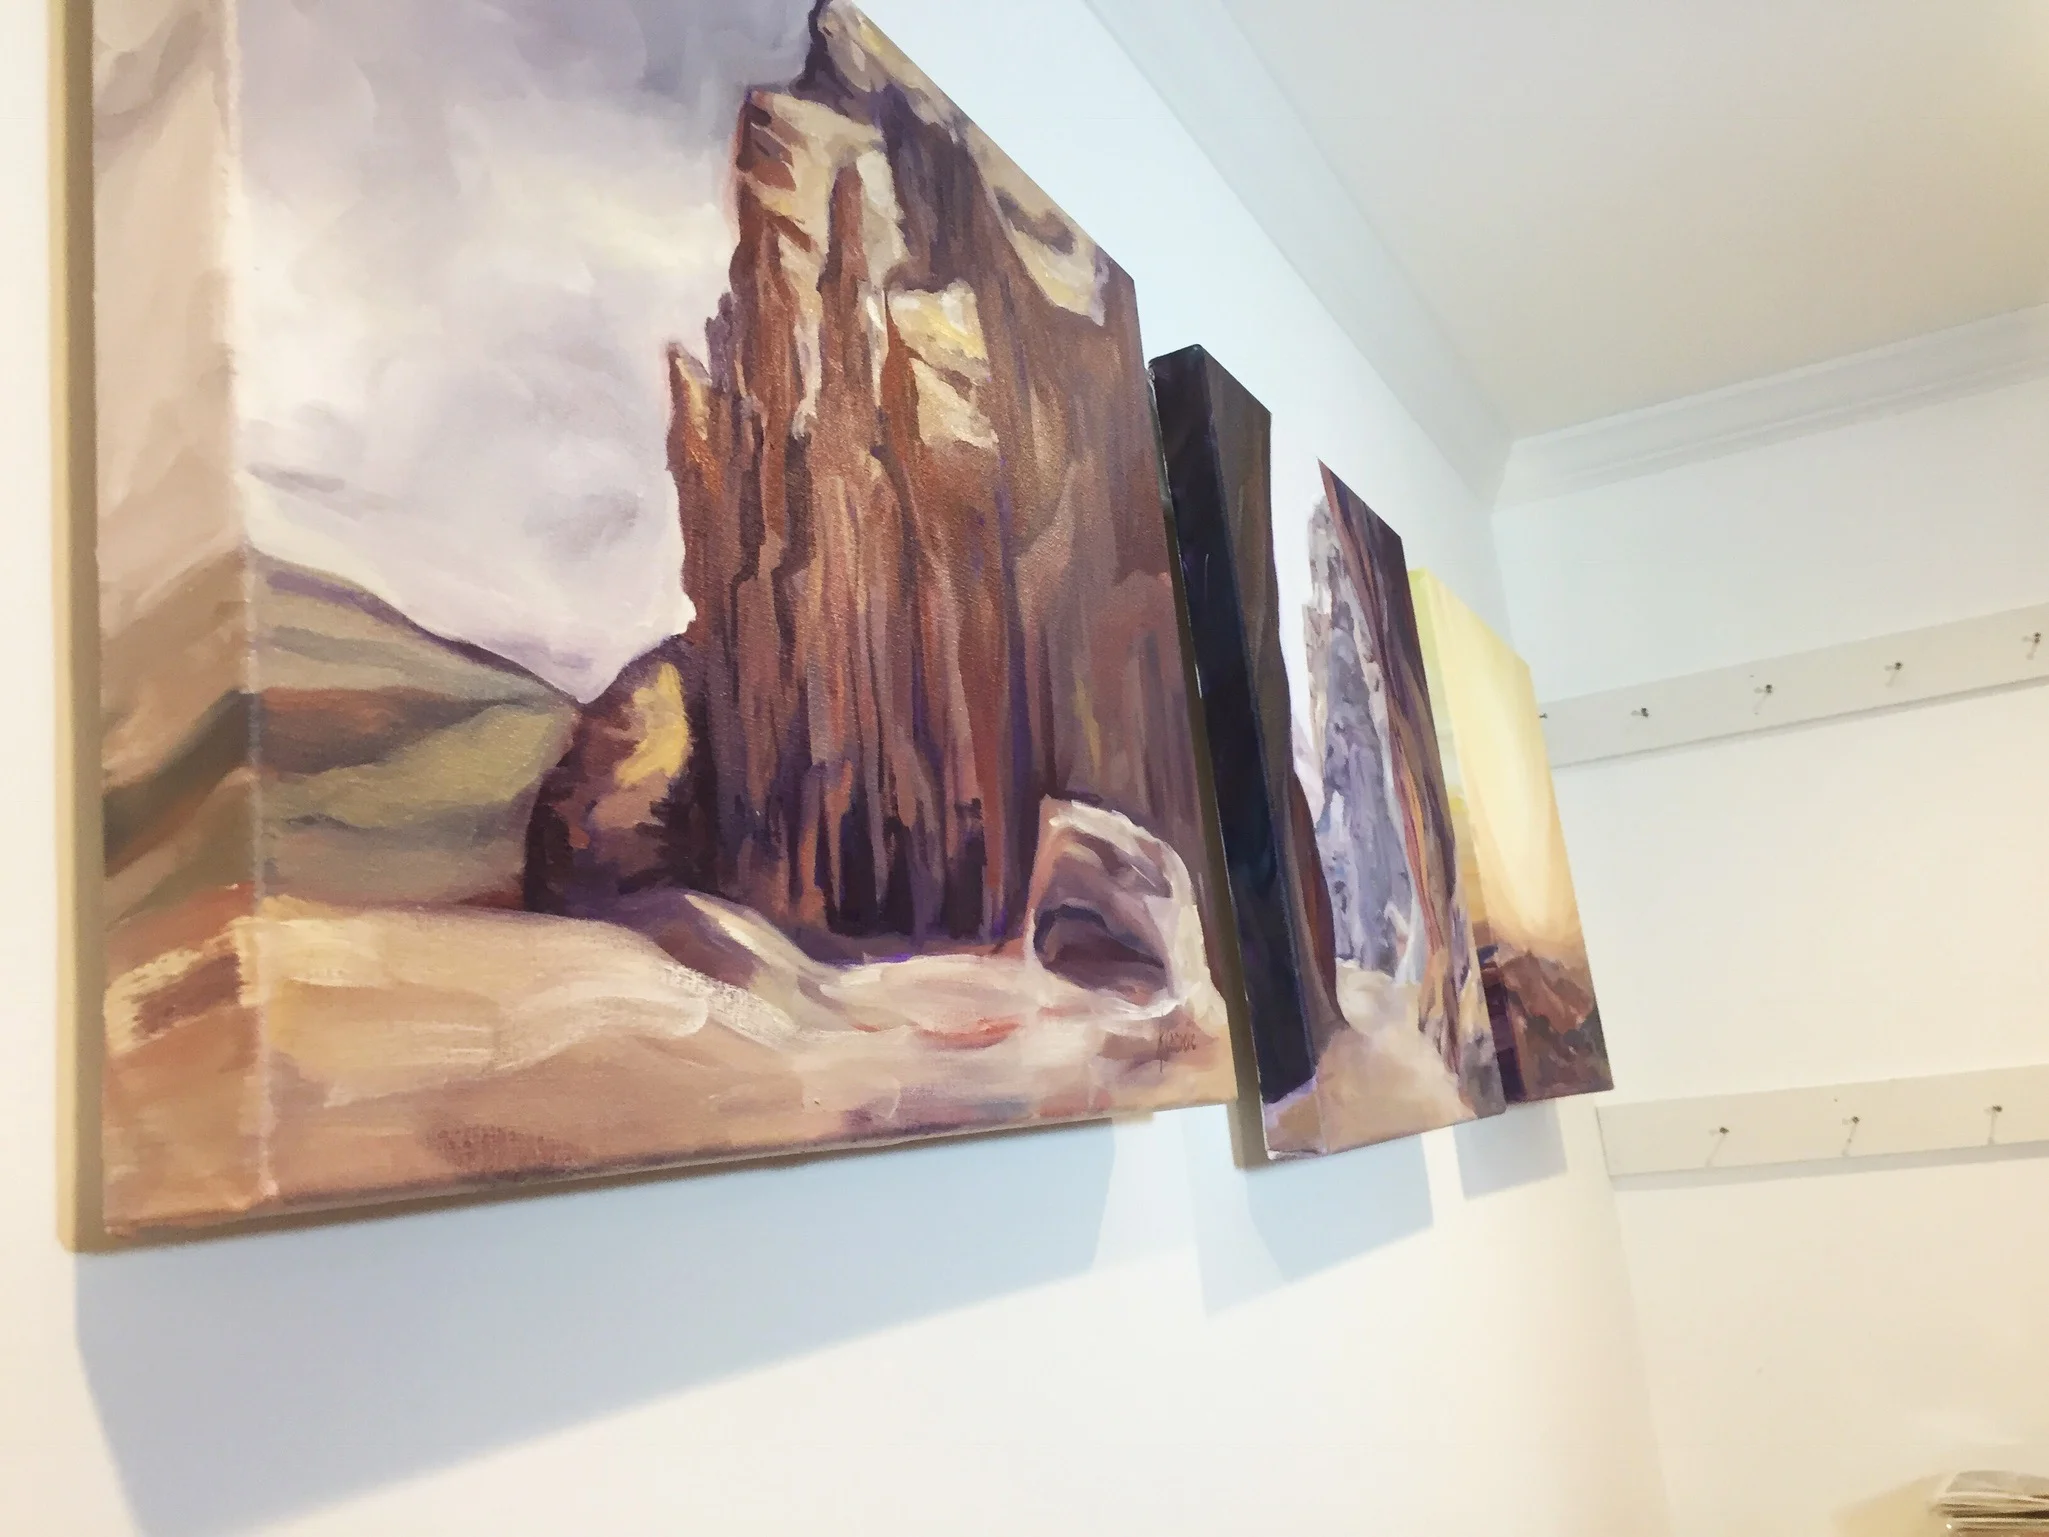
3. My Favorite Hanging System Upgrade
I follow so many inspirational artists on instagram, and Brynn Casey is one of them. While double tapping all her stunning seascapes, I noticed the incredibly simple yet brilliant hanging system she uses in many of her photos. I adapted it to fit my space, and basically it's a 2 by 4 wooden rail with screws sticking out every 6 inches or so. It's a lot cheaper than purchasing a real hanging system, and it's a huge upgrade from the 300 thumbtacks that were a total blast to pull out of the wall previously.

4. Flat Files and Drying Rack
The flat files were a new item that finally got the stacks of sketchbooks and linocut prints off the drying rack and into a much cleaner filing system. My most significant art mentor and pretty cool aunt Kathy Strauss uses these and it took me years of seeing her pull her beautiful art out of these for me to finally see the light.
I bought a stand for mine. I love the extra storage in the bottom, and the 2 foot lift keeps my art dry in case we ever flood again (please, no). Bonus benefit- the top now doubles as my framing/wiring/admin table!! It is really hard to do stuff like that sitting down, but the stand adds enough height to make it really comfortable to do all that studio work standing.
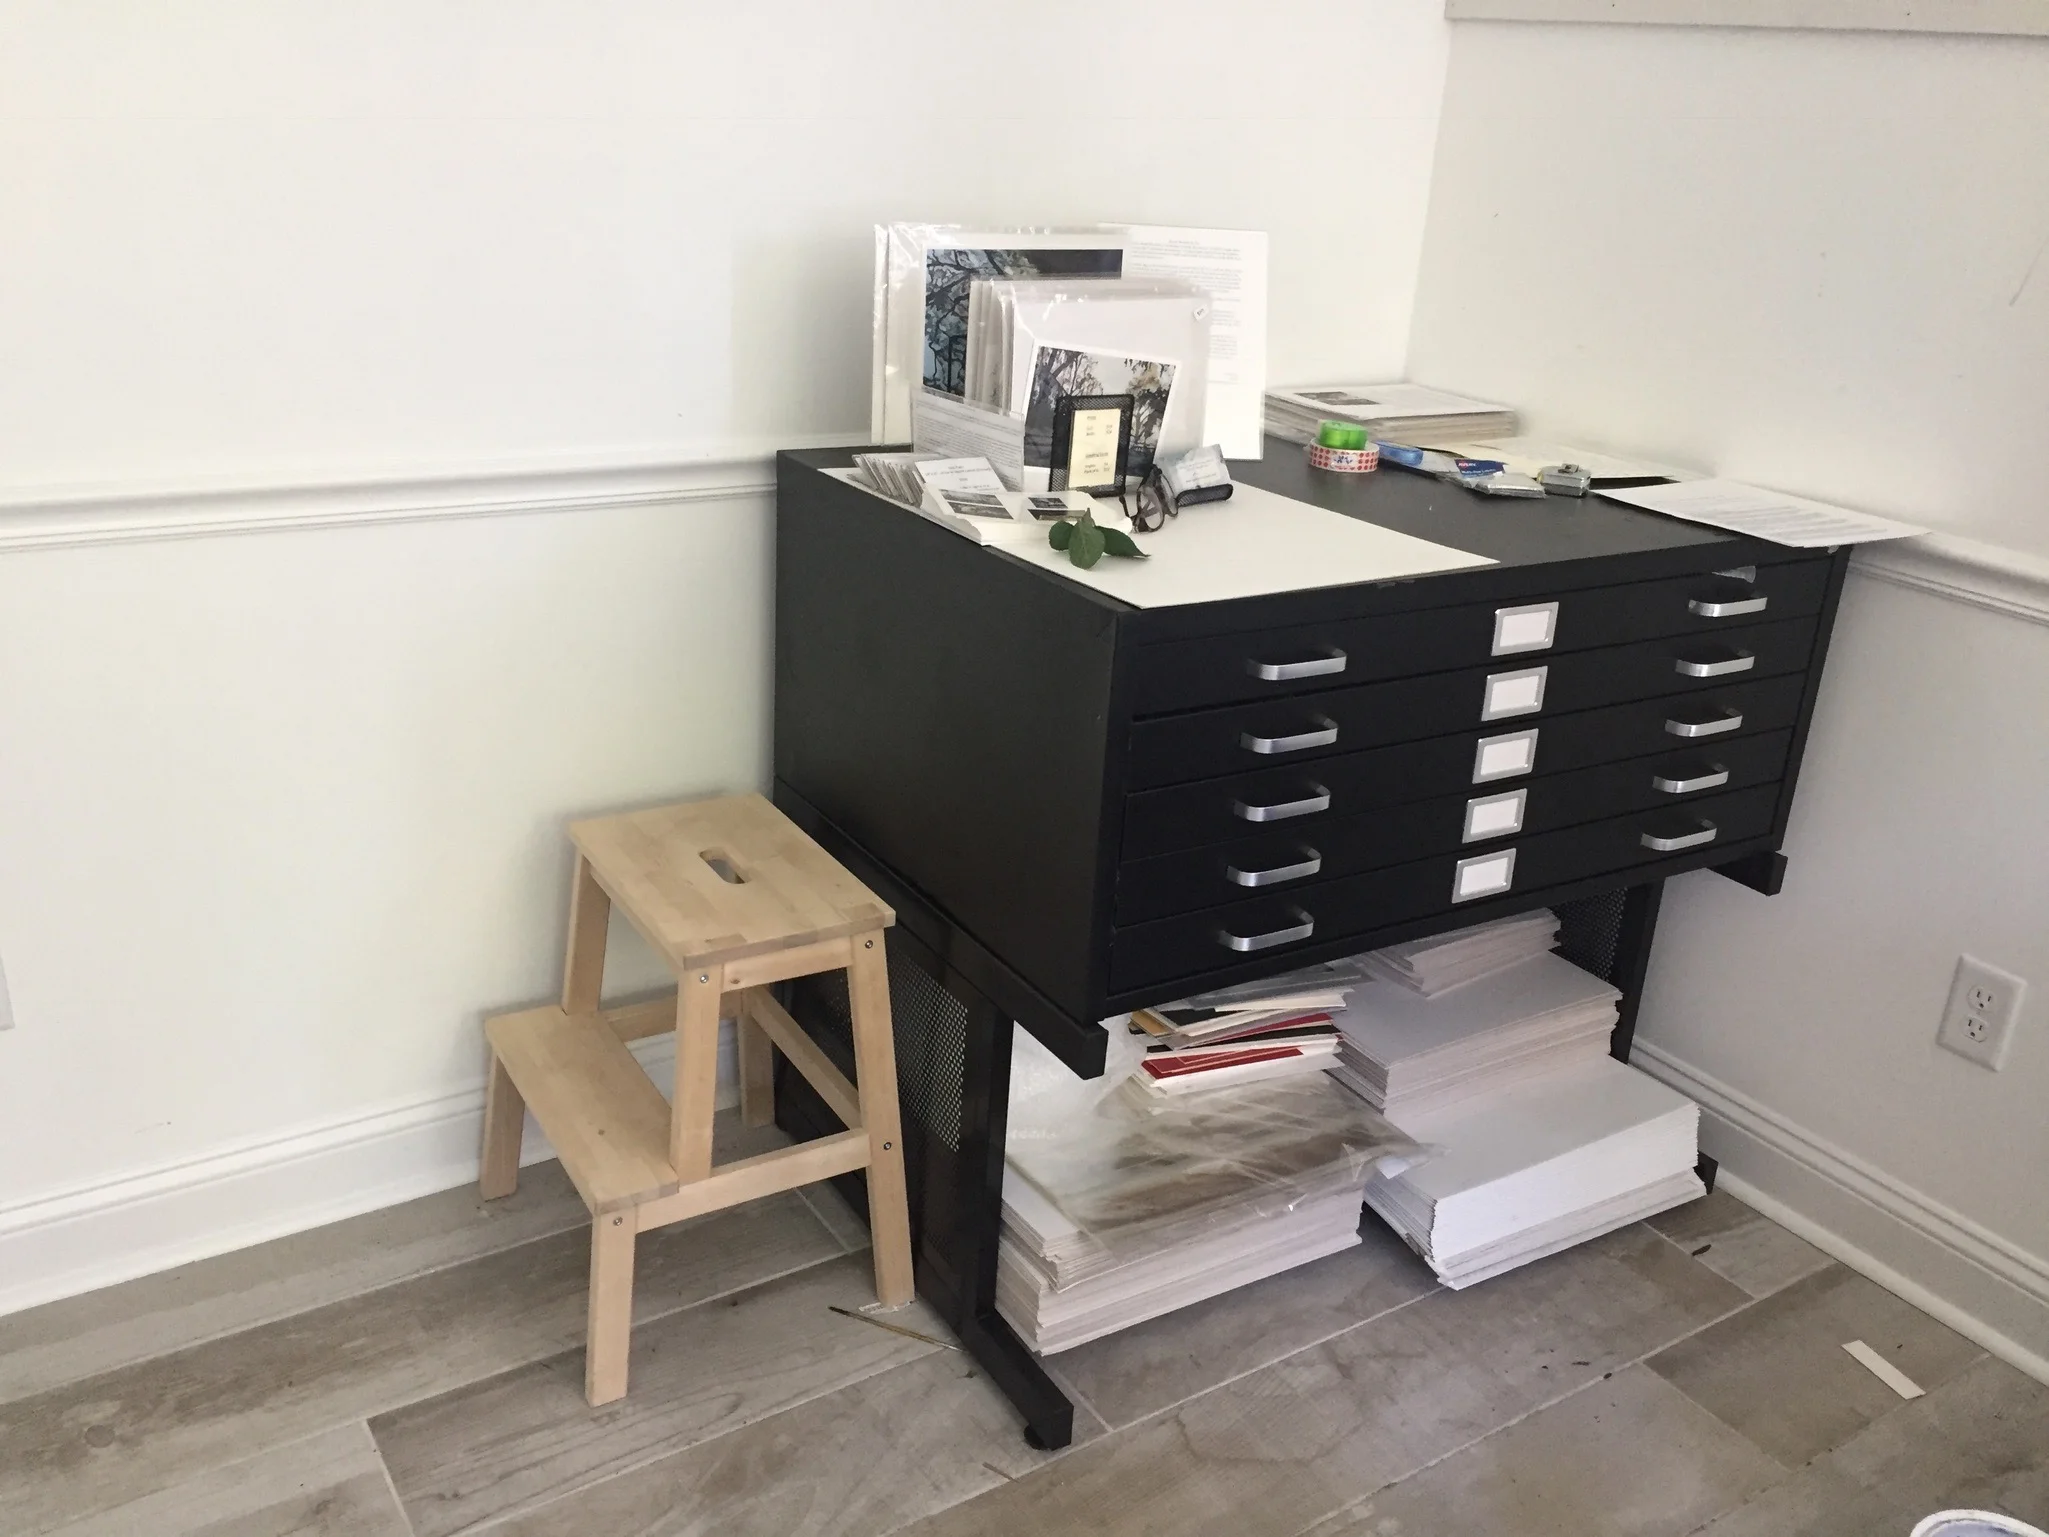
Worth the cost!! I bought mine on Amazon.
My drying rack did get wet but dried out beautifully, and has been a great place to store all of the wet works in progress. I tend to jump between three or four projects at a time, so this makes it really handy to store all of the small works until they are ready!
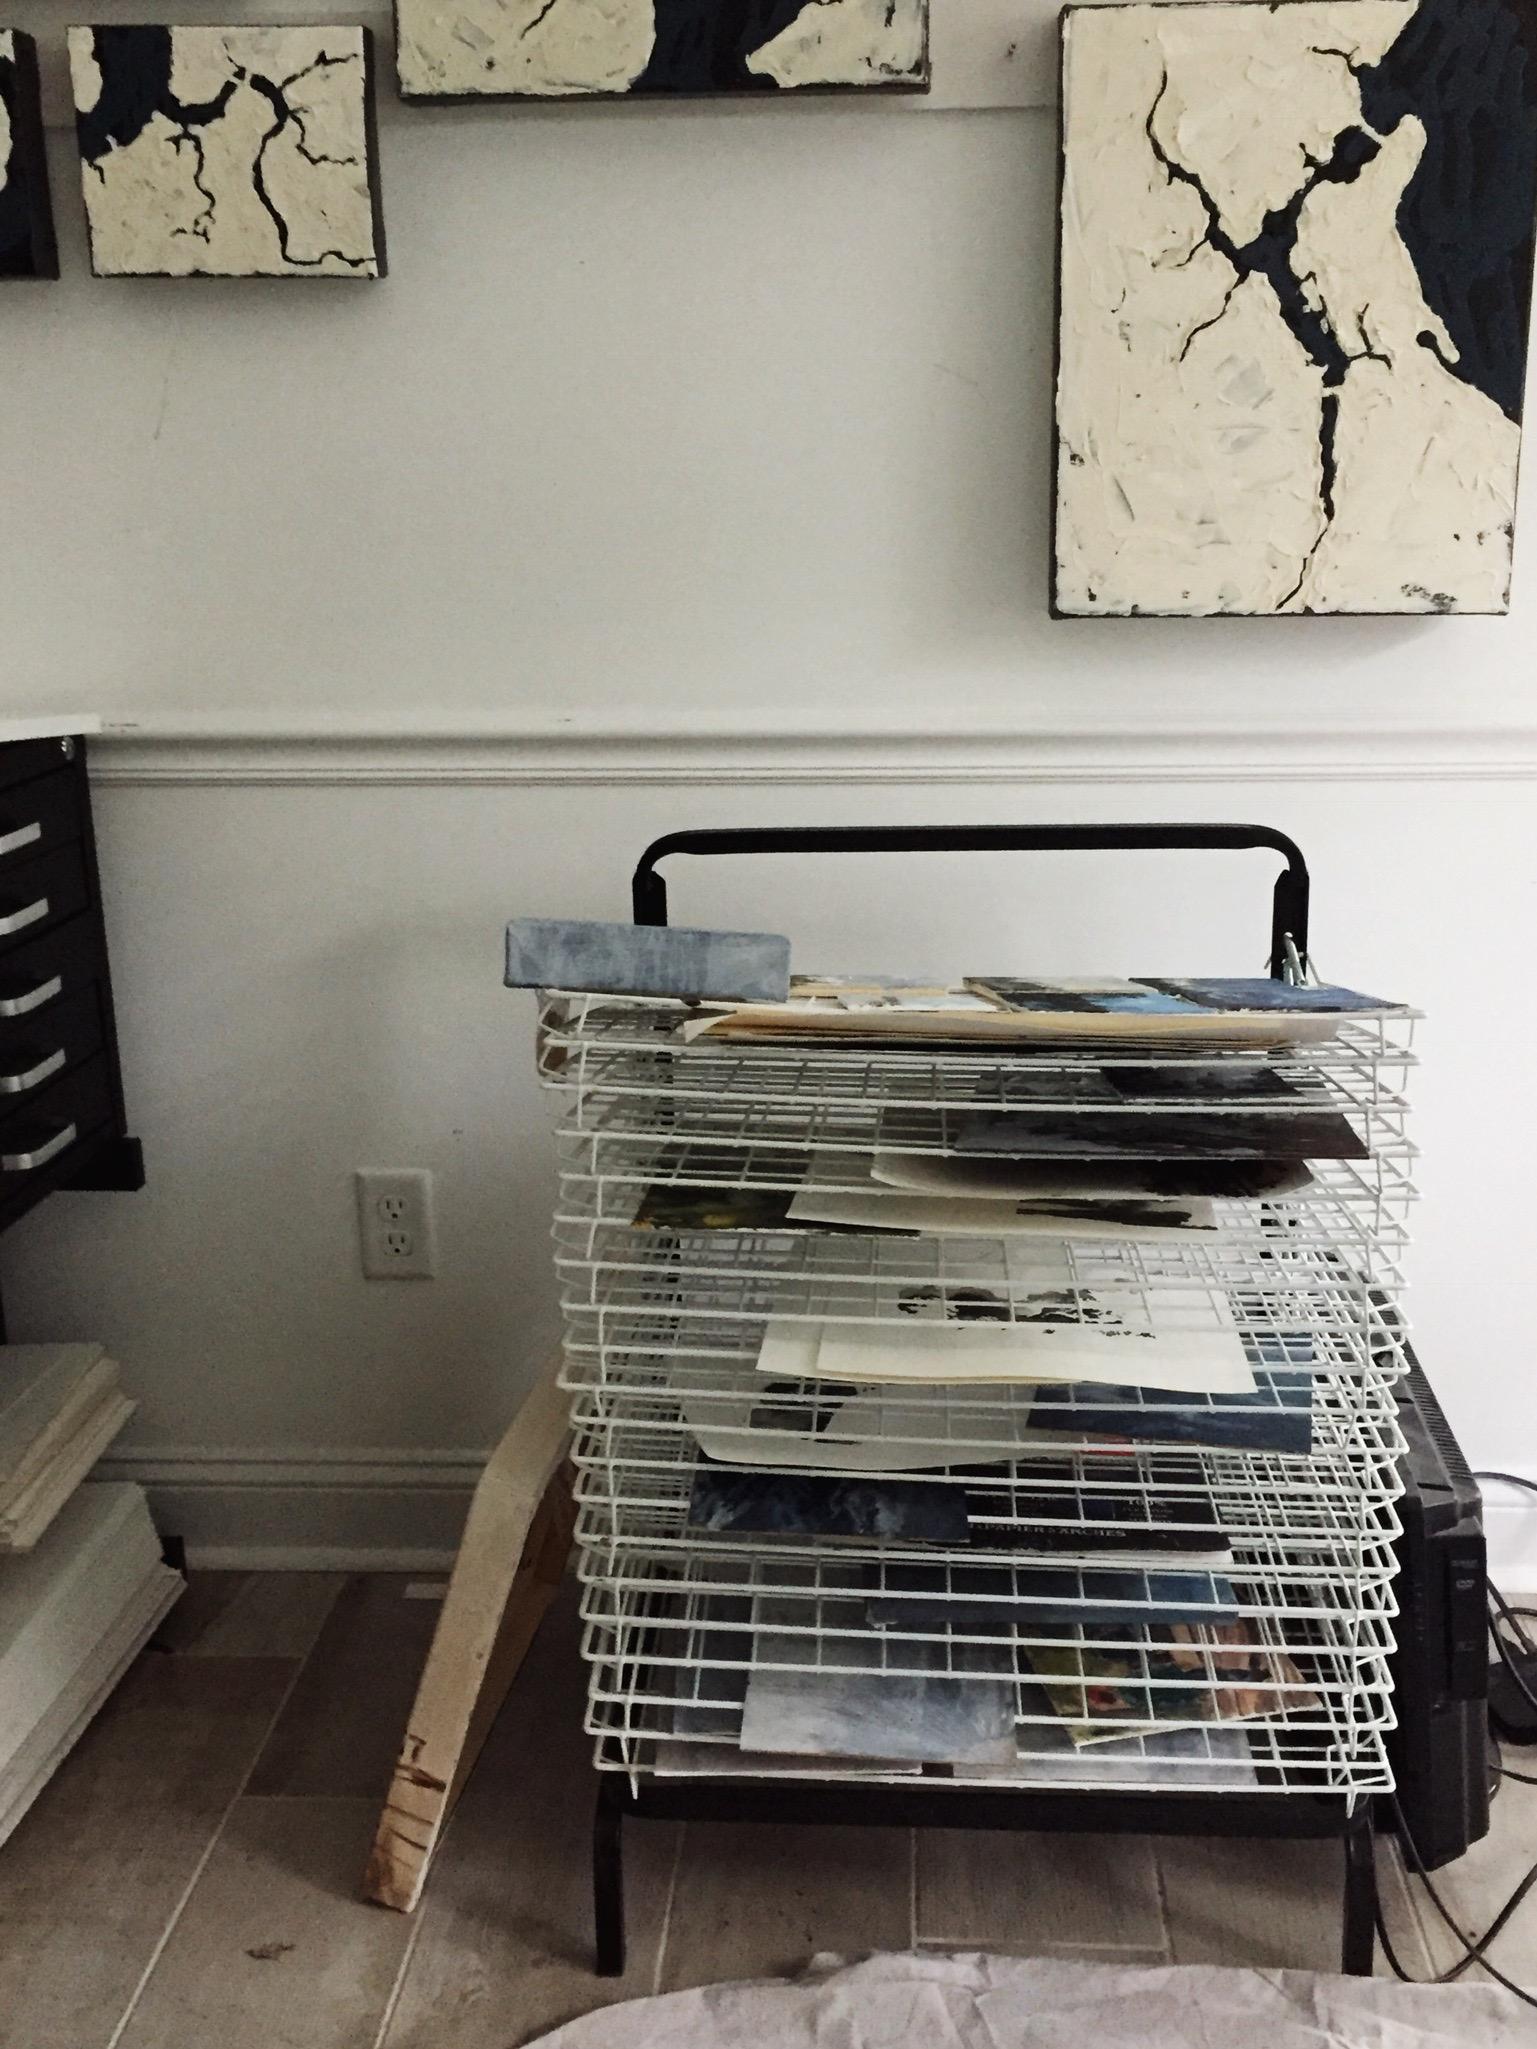
I loved this from Jerry's so much I salvaged it from the flood.
5. Easel, "Taboret," and Drafting Table
Duh! These are must haves. My beloved French Easel finally broke after years of abuse while we were renovating, and we didn't have room for one of those awesome H-frame easels in the dining room, so I opted for this instead. It was a ton cheaper than an h-frame and so far, I have no complaints.
My "taboret" is a wire rack that used to hold workout gear in our garage. It was a lot more useful catching all my paints. Once again, these can get really pricey, and one day I'll buy a beautiful wooden one, but for now, this meets my needs.
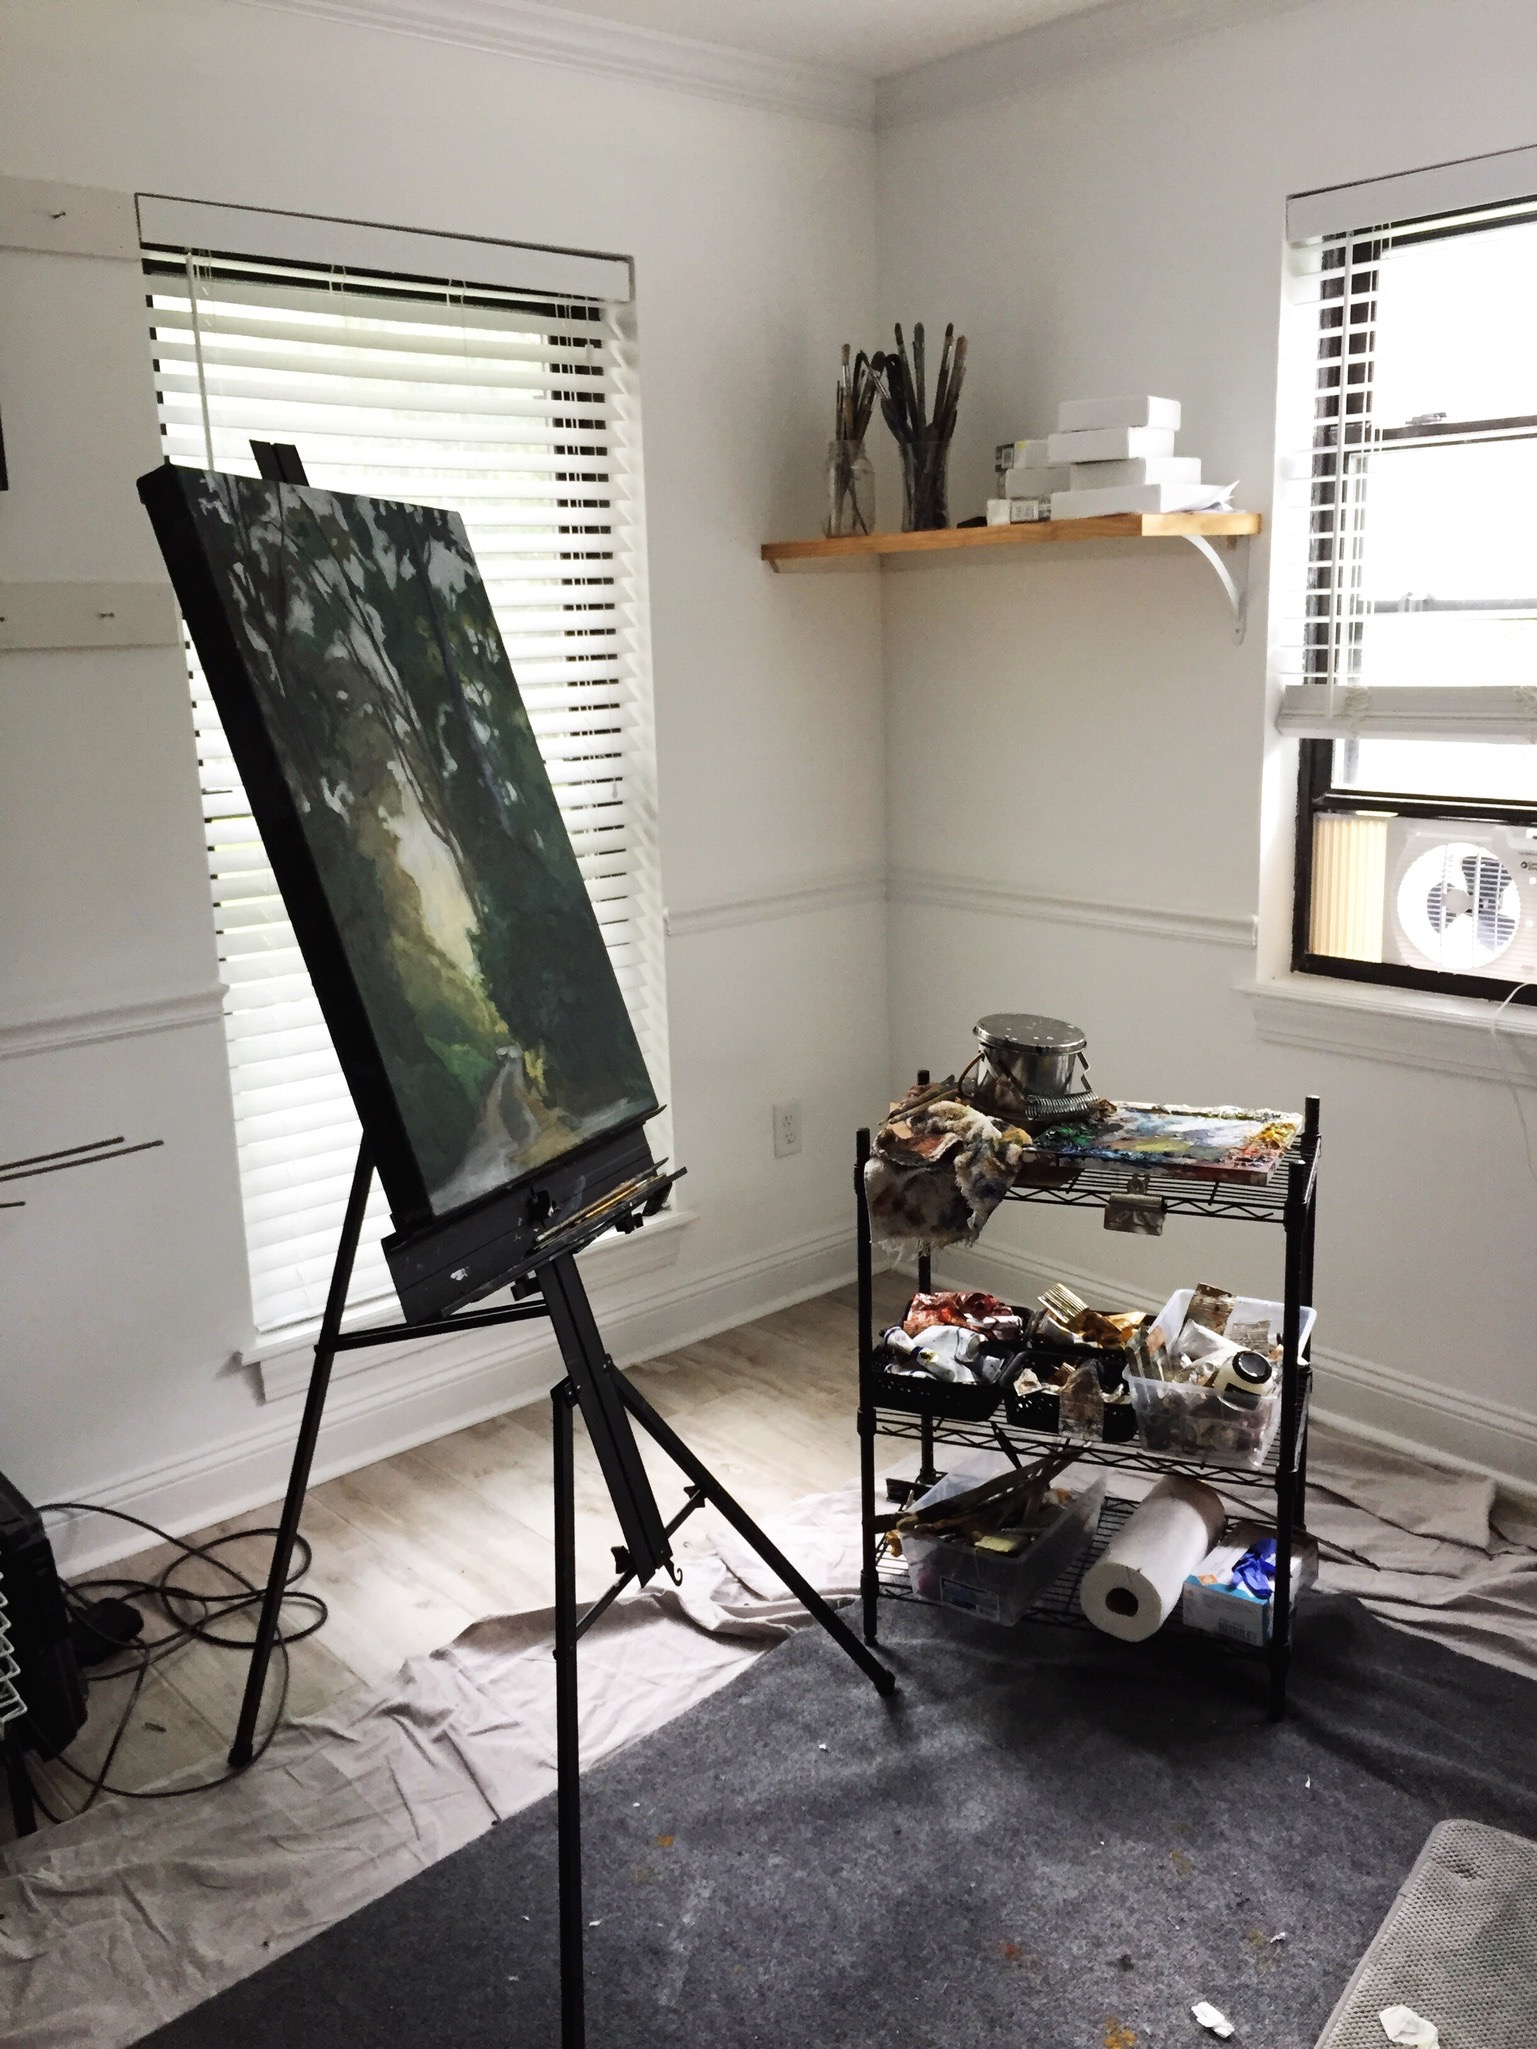
My easel and "taboret"
And finally, for the water colors and small work, I love my Craigslist (also salvaged from the flood) drafting table. Simple. to the point, a bit loved in after so many years as doubling as paint storage.
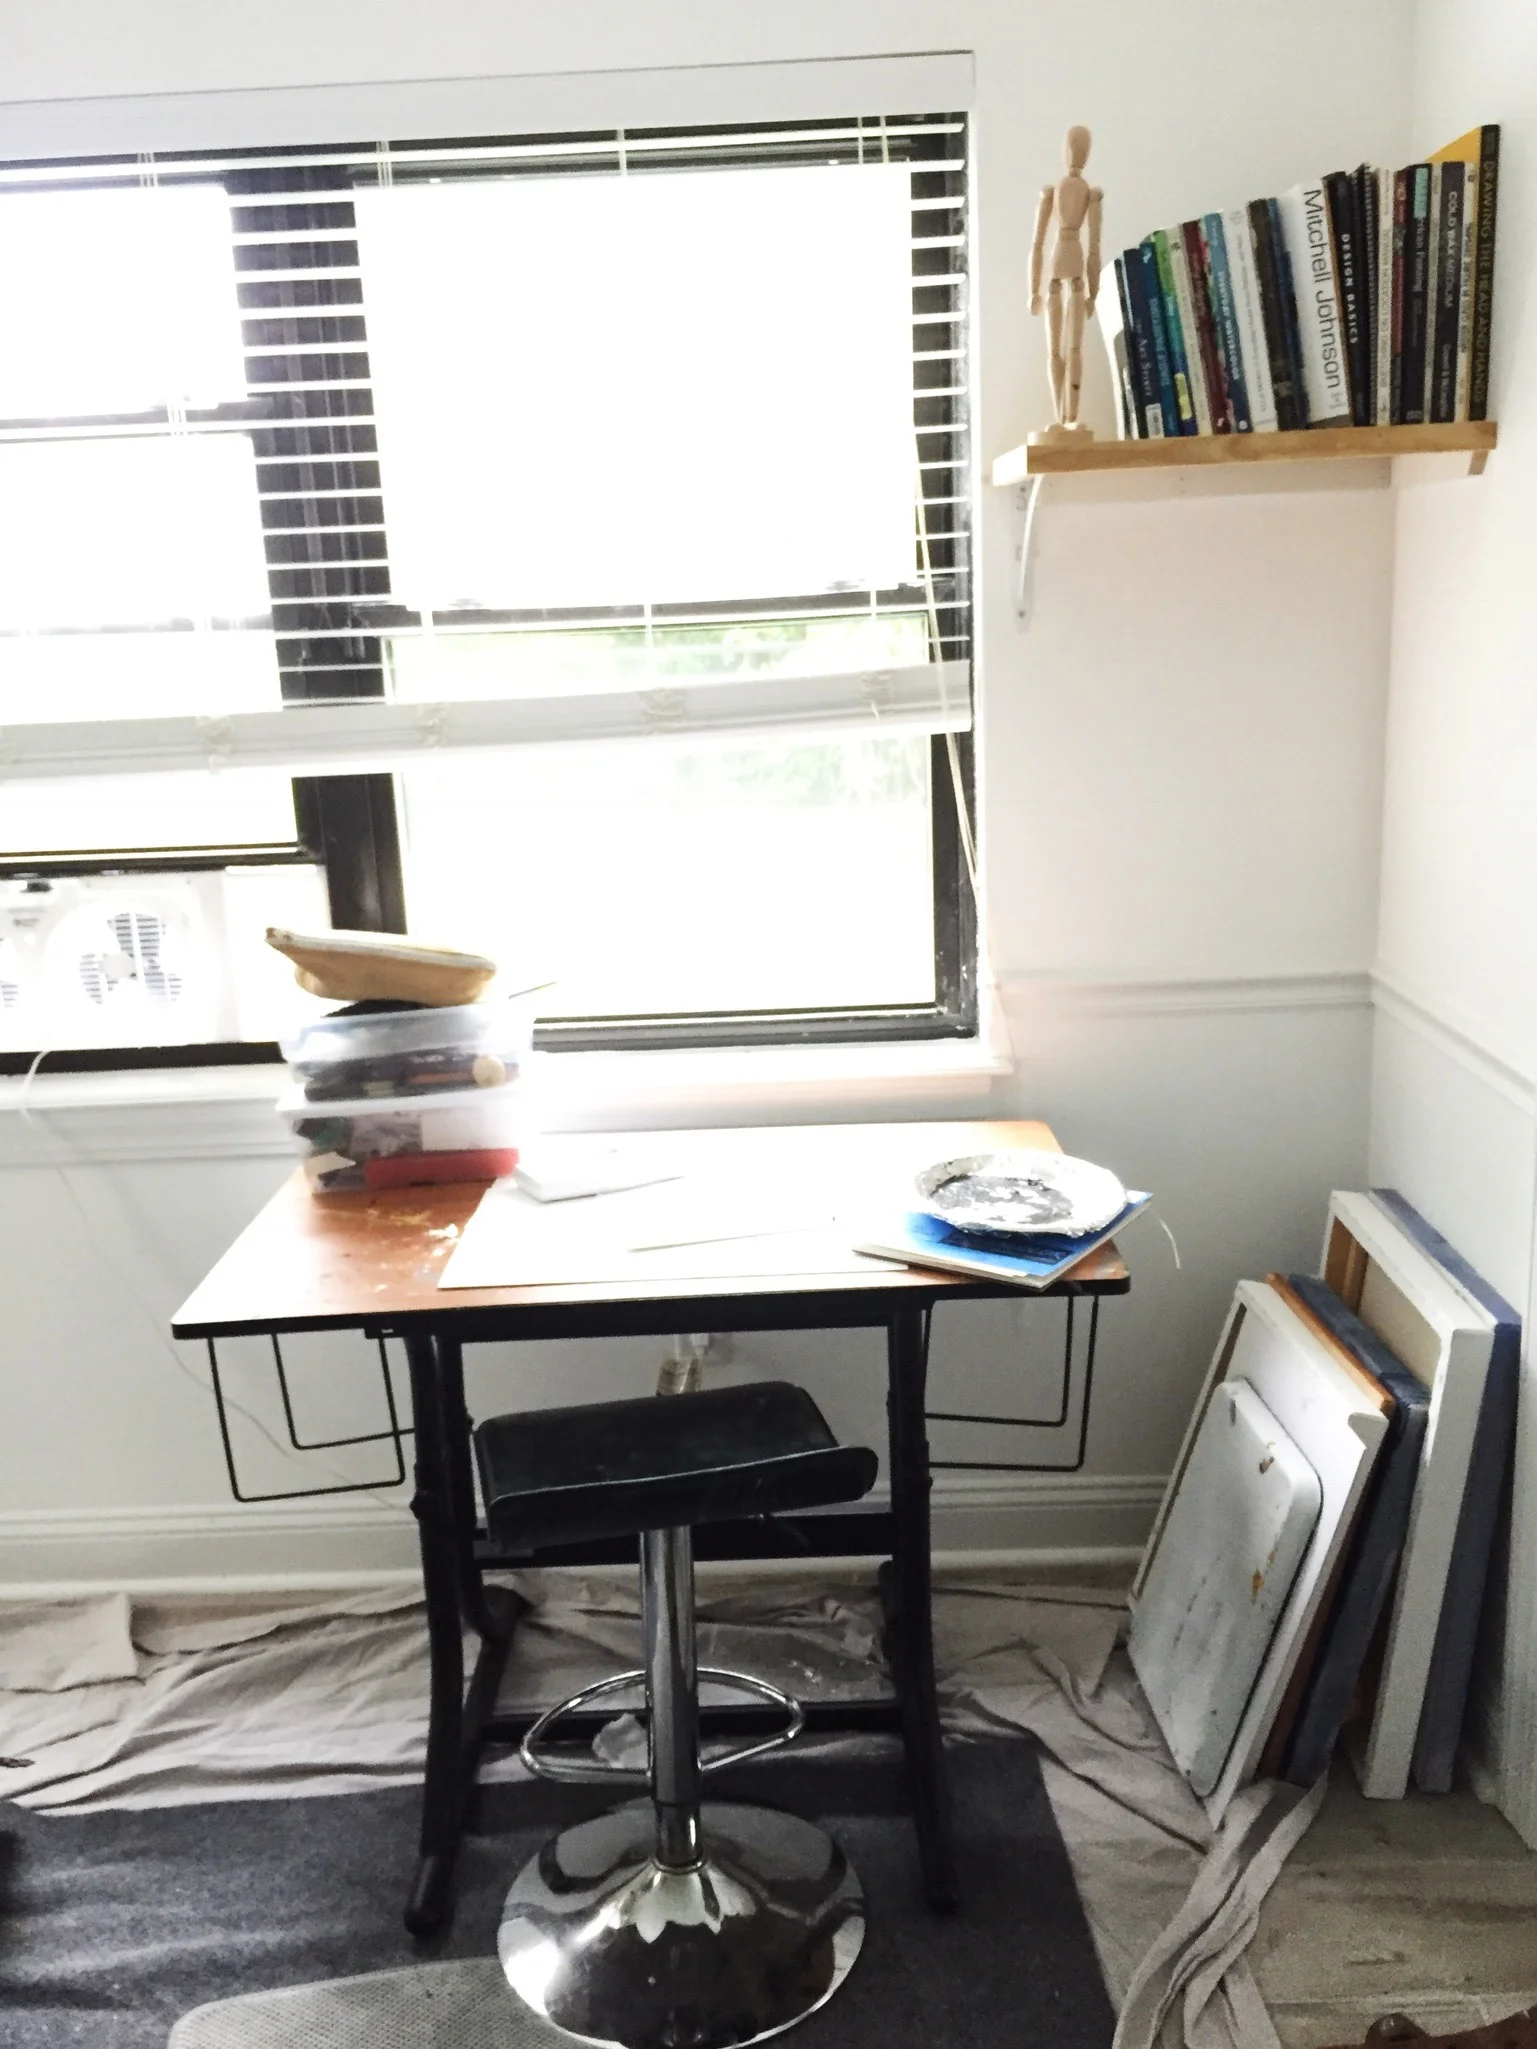
Strategically placed in front of the window for that killer natural light on my trusty drafting table.
6. Open Space and White Walls
My old space had. stuff. everywhere. There wasn't room to stand back and move in front of the easel. Keeping the room as empty as possible was imperative this time around. The white walls (High Reflective White by Sherwin Williams) keep the great natural light in the space bright and fresh. It also makes it easier to take photos of my work.
Look at those white walls! I should have turned off the overhead lights for that photo. Oh. Lights. I'm still working on those. Cool tempertured track lighting TBD!
7. That Storage, Though!!
It totally didn't matter that my square footage for the studio actually DECREASED with the renos, because those closets got bigger. We contracted out the work and the guys did a particularly impressive job on the closet shelving. I designed the closets to be able to store large canvasses beneath the shelving, which were sturdy and deep enough to hold everything, keeping the studio space open.
On the flat wall is a pegboard. So much better way to store commonly used tools and supplies.

The pegboard was a great way to use the short wall that couldn't fit any shelving.

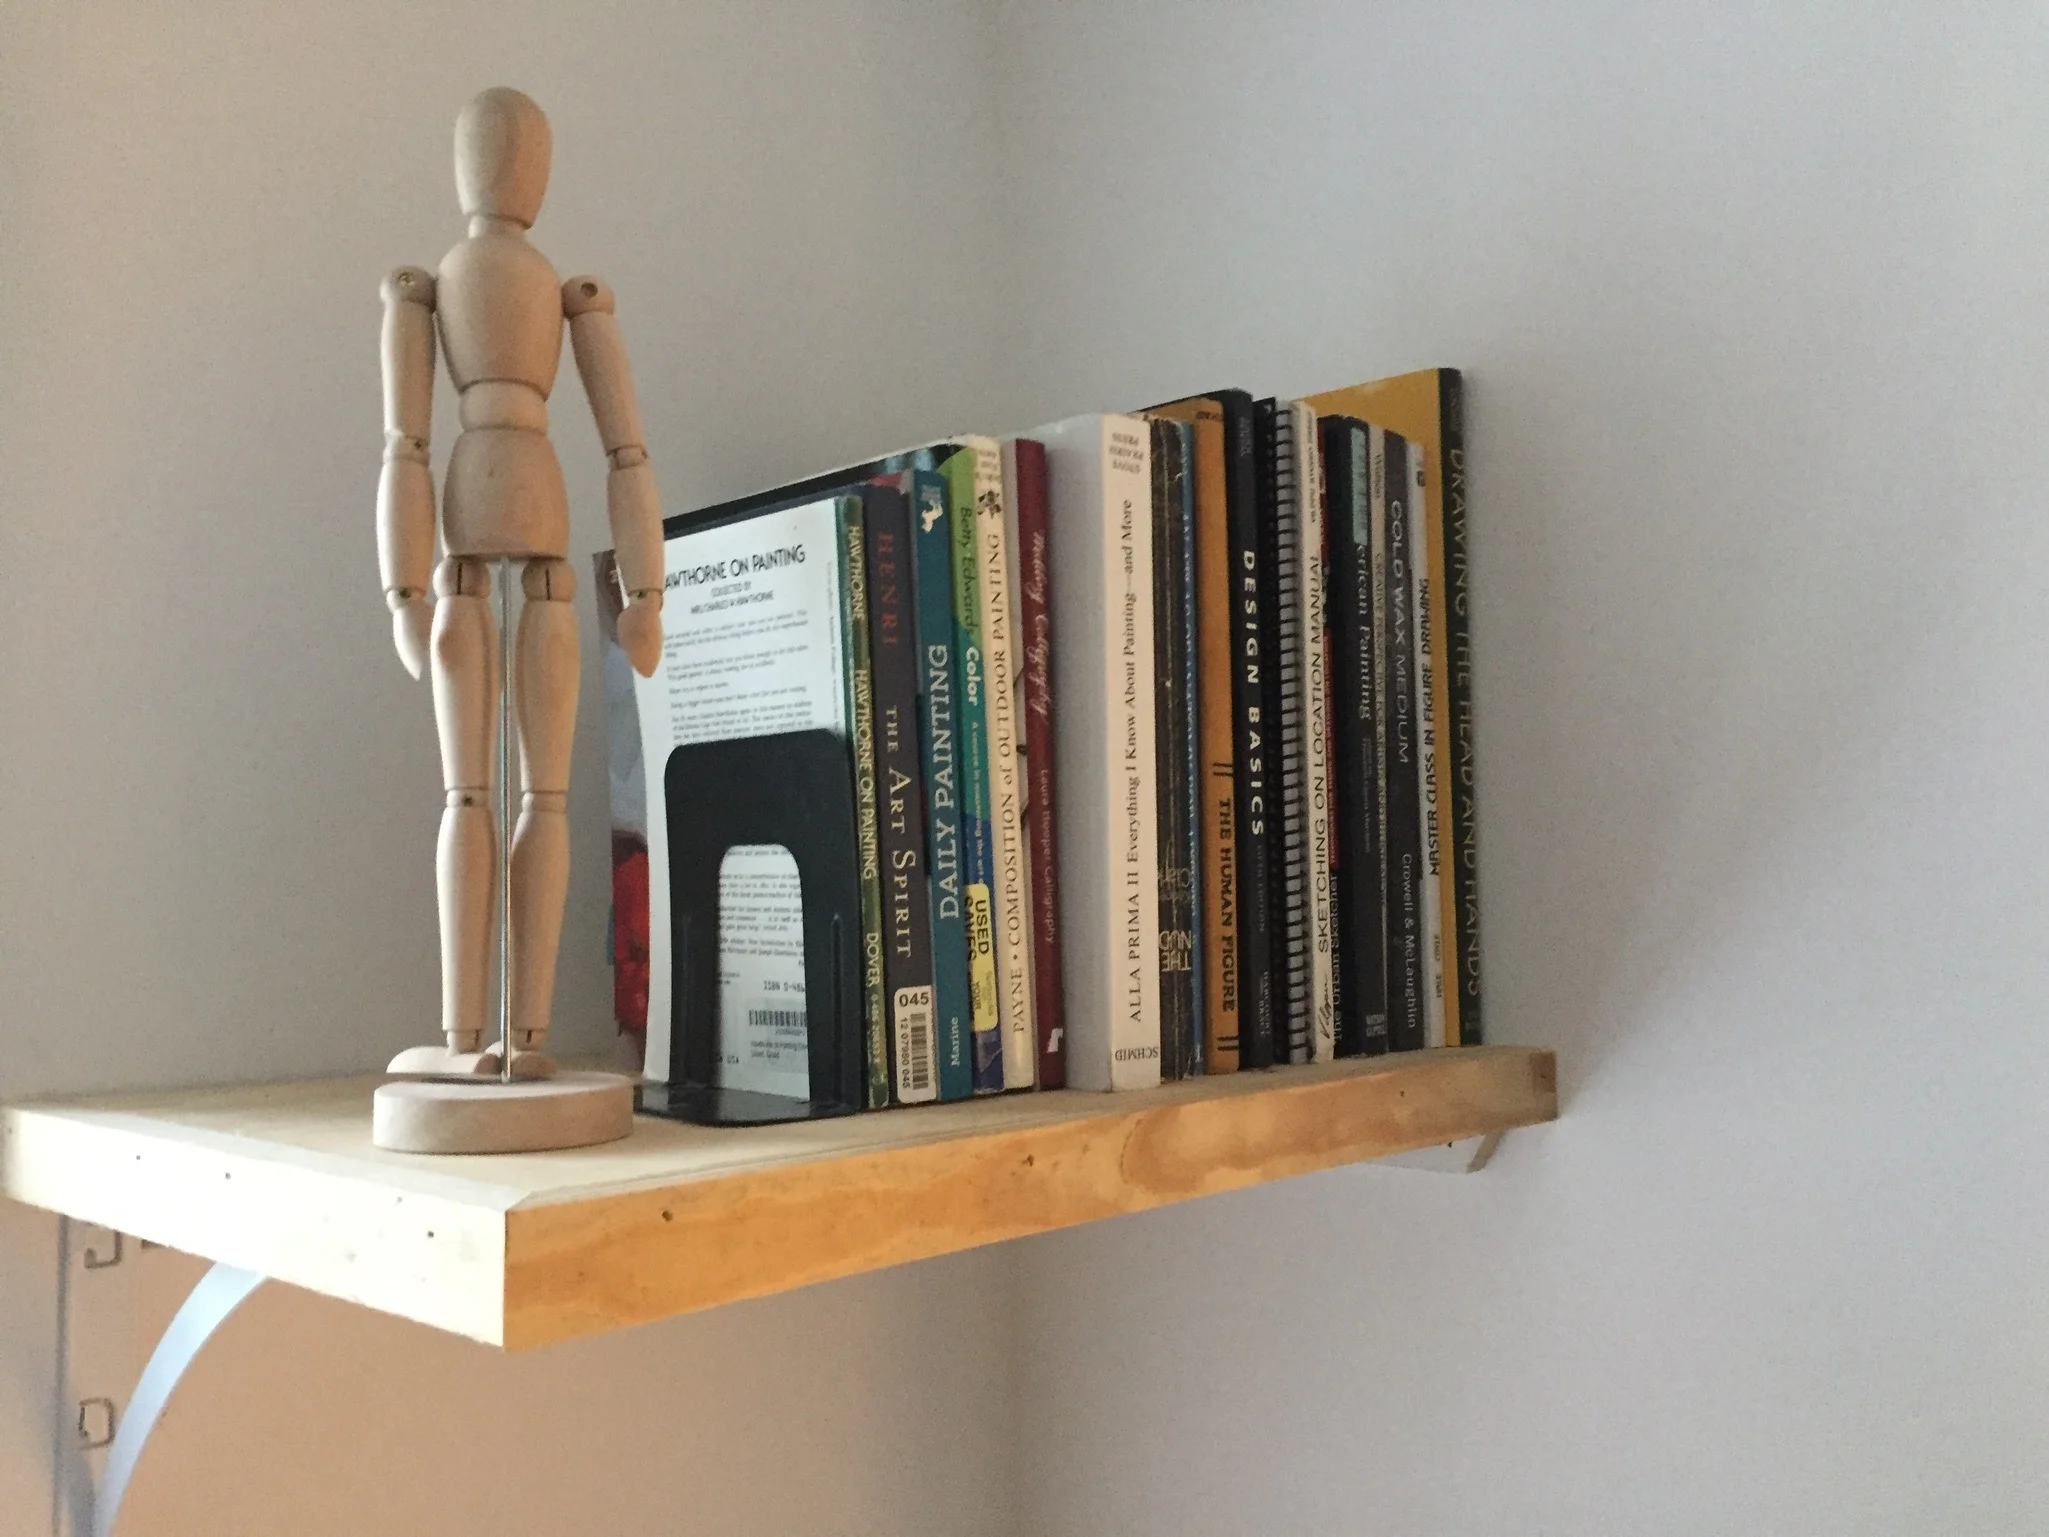
I love these sturdy shelves. It is a lot easier to keep some of the more dangerous mediums up high and out of reach of my babies.
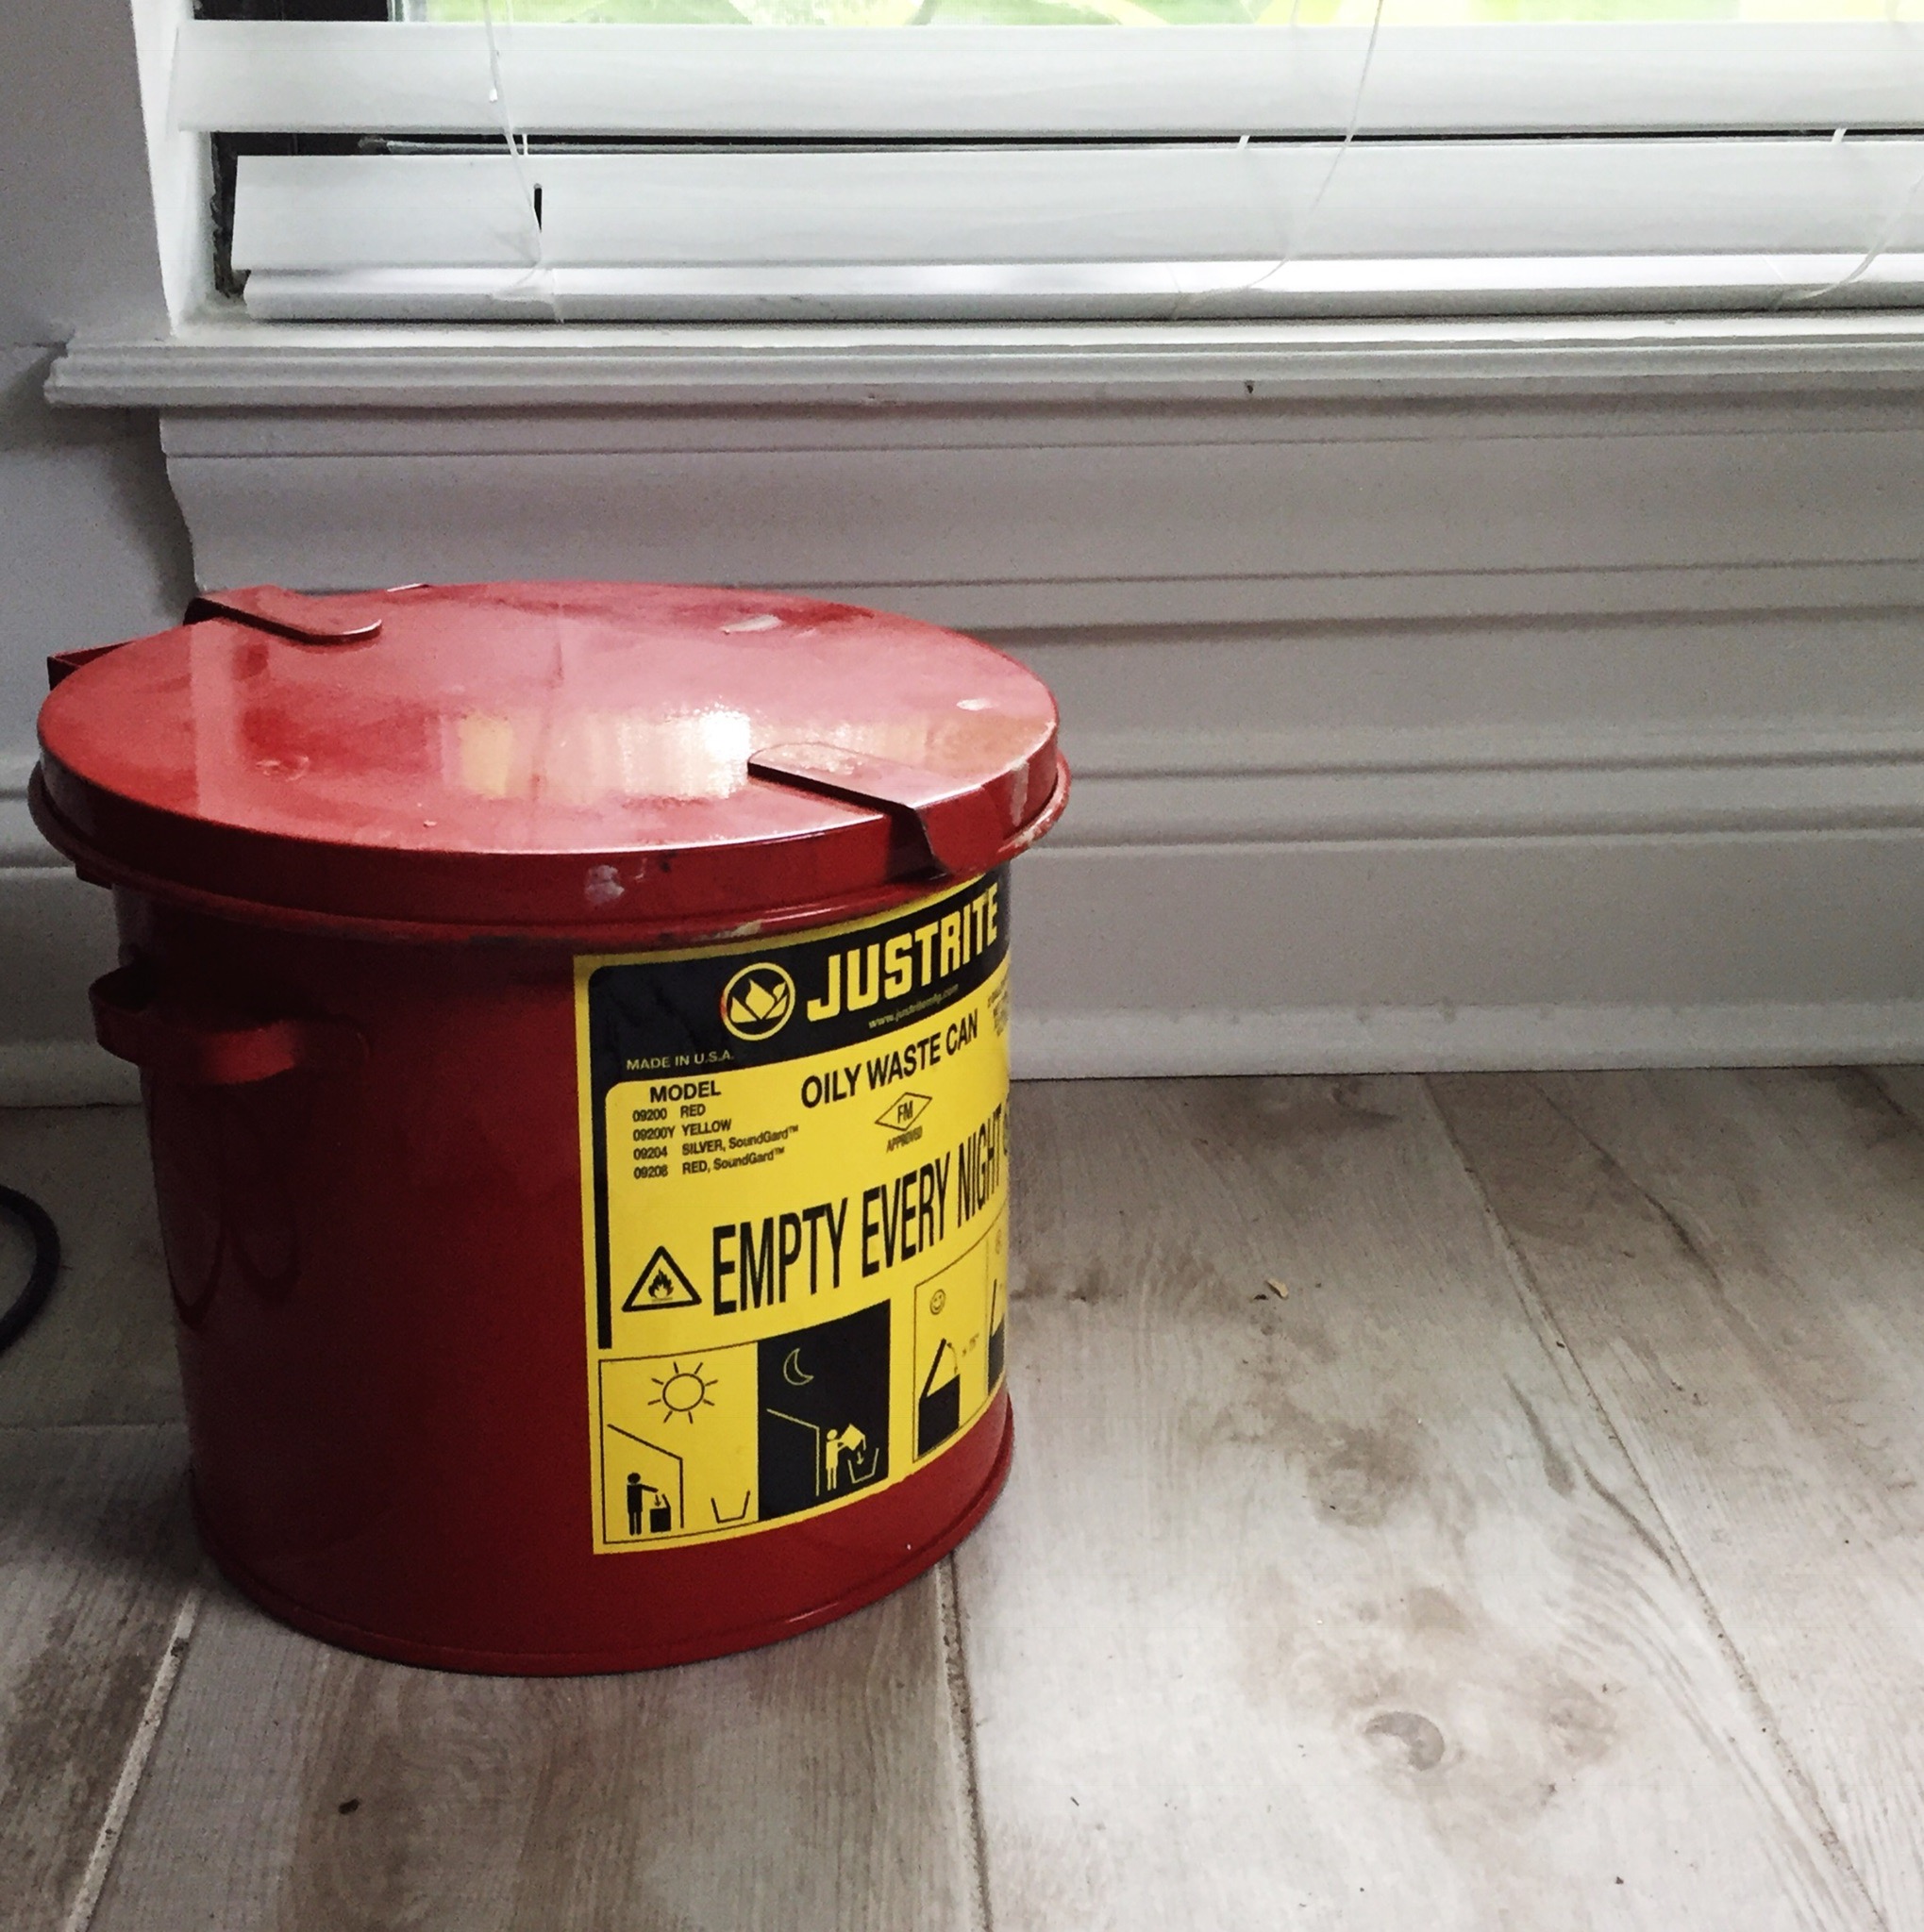
8. Safety First (Even though it's actually #8)
Art isn't always the safest past time, but there are a few things I have adopted over the years in efforts to mitigate the risks.
Thanks dad! He's a chemical engineer and was concerned about the concoctions I was playing with in the studio. What an awesome, functional gift!
Ventilation: I have a stand up fan as well as an exhaust fan in my window used for getting the fumes out of the space.
Air purifier: When my daughter was born, I decided to take precaution, just in case. It helps get the smell of solvents out of the room much quicker at the very least.
Gloves: I'm really really messy when I paint, and rubber gloves help keep some of those pigments off of my skin.
Flammables Trashcan: Linseed OIl is highly combustible, as is pretty much all of the solvents used in oil painting. Even the "healthy" kind. The oily waste can (pictured) helps me feel better about throwing away my rags soaked in solvents.
More natural materials... but still... be careful. Oil paint is pigment and oil. Period. It's not as scary as people make it out to be. Although some of the pigments are toxic, my favorite brands claim that they aren't absorbed into your skin easily. I honestly don't worry too much about it, but I did stop eating Cadmium Red. (Just kidding). The solvents are what cause a lot more problems, and I love substituting the citrus oil by Chelsea Classical Studios for traditional turpentine. However, Gamsol Odorless Mineral Spirits by Gamblin is still my favorite, and I use it interchangeably with Chelsea.
9. Last but certainly not least: Finding the Time
I suppose this isn't exactly part of the tour, but it's worth mentioning. One of my mentors I studied with warned me that "there will always be an excuse not to paint." He's right. And if it's not painting, <insert whatever makes you you here>.
My husband embraces it and knows its as important as regular exercise and healthy food for my health. Life has changed rapidly from two years ago while we were two officers in the Navy with no kids to now and studio time looks different too.
I used to utilize the time my husband was at sea to paint. Or, keep a sketchbook on the ship! Now, having a functional space I can lock and leaving everything out is imperative when I may need to drop everything quickly to tend to a baby.
Recently, I use nap time and after bed time to squeeze in a half hour or so. Sometimes our families or my husband intercede if I really need a good chunk of time to finish something (bless them).
I also utilize time away from the studio efficiently when preparing to paint. If I have 5-10 minutes of happy kids, I may just set out the paints I know I'll need for later that day (or week...). I try to batch my work, and prep all my canvasses in one day so they are ready to go and have a consistent block in. Recently, I use nursing to catalogue ideas and inspiration references, and even try to *think* out my approach in my head before I'm standing in front of the easel (this doesn't always work, but sometimes does.)
And finally, sometimes it's a little (and I mean little) bit of this :


Hey there aspiring creative! A few years have passed since I wrote this post, and a lot has changed since then. Do you know I teach classes? Click below to explore what’s available right now!
Interested in keeping up to date with new classes and workshops? Send your email and I’ll add you to the list! (In the meantime, you’ll get a love letter about oil painting :))